Now that Jamboard is no longer available, Google Slides can be an easy replacement for facilitating visual collaboration in your courses.
This guide provides a step by step walkthrough of Using Google Slides Instead of Jamboard. Before we begin, be sure you’re logged into Google using your Boston College credentials.
Video Walkthrough
Step-by-Step Instructions
1. Moving from Jamboard.
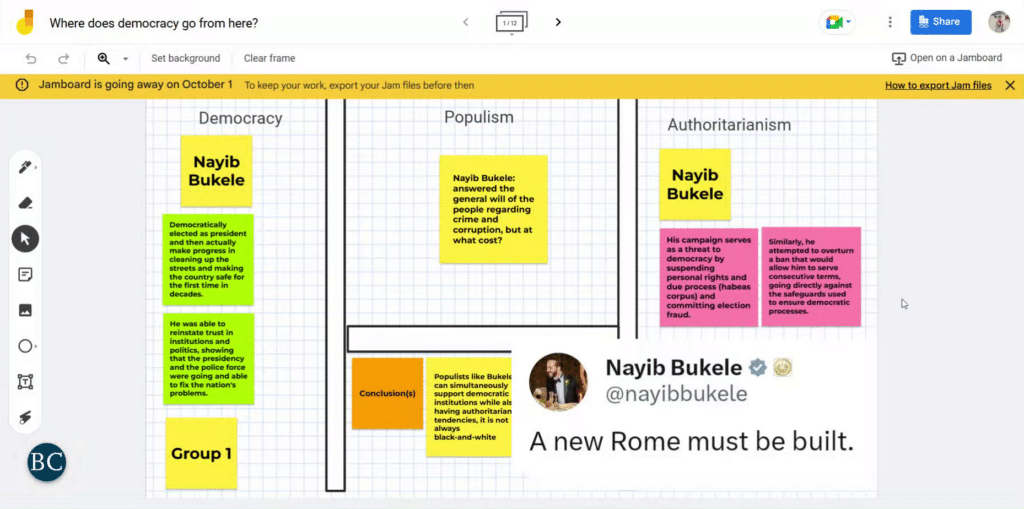
This is an example of a Jamboard we will recreate in Google Slides. Much of the same structure can be created in Slides, including separate sections, headers, notecards, and images.

2. Open a new tab.
To begin, navigate to a new tab. Make sure you are logged into Google.

3. Open the Google menu.
In the upper right section of your browser, select the nine-dot grid to access the menu of Google related applications.

4. Select “Slides.”
Once the menu is open, please select the “Slides” application.

5. Open a blank presentation.
Once the Slides application has opened, you may create a new presentation by clicking “Blank Presentation” on the menu at the top of the screen.

6. Add new slides.
On the main slide, you can create a board title and subtitle as you wish. In order to add further slides on which to collaborate, you can click the plus sign on the toolbar.

7. Select a slide style.
There are a number of options for formats to select from. For this example, we will open a Blank slide using the last option on the menu.

8. Structure board.
Once in the blank slide, you can begin structuring your board as appropriate. This board has been partially filled out with text boxes. The next steps will show you how to add notecards, sections, and images to reproduce the Jamboard example from the beginning of this tutorial.

9. Format the slide.
There are a number of options to create an organization in a Google Slide similar to Jamboard. For example, to create separate sections, click the “Line” tool on the toolbar to begin marking out sections. You can use a number of shapes to create the layout you want.

10. Adjust line settings.
Once you’ve placed the line or shape where you wish, you can change its thickness using the “Line Weight” tool.

11. Click “Line.”
Once you’ve sized the line, you can add more that will automatically be of the same thickness by clicking the “Line” tool again.

12. Add a text box as a note.
Once you’ve formatted the slide, you can add “Notecards” by clicking “Insert” on the toolbar and then selecting “Text box.” There are also a number of other options for inserting videos, shapes, tables, etc., if you wish to do so. You can also use this tab to comment on slides.

13. Adjust the text box.
Click the slide where you wish to place the text. You will have to resize the box using the small blue boxes on the edges of the text box.

14. Adjust font settings.
For longer text blocks like in this image, you can resize the font by highlighting the text and adjusting it using the Font options on the toolbar. You can also use this section to change font color, italicize, etc.

15. Change text box background color.
To change the background color of a text box in order to differentiate between sections, you can click “Fill Color” on the toolbar and select from preset or custom colors.

16. Paste in an image.
You can paste images into the slide by right-clicking anywhere on the slide and then selecting “Paste.” This menu also shows options for changing the background color and layout, if you wish.

17. Adjust image.
Once the image is pasted, use the small blue boxes on the sides of the image to resize it, if needed. You can also click on the image to select it and move it around the slide to place it where appropriate.

