Updating Instructor Information

This tutorial will guide you through updating instructor information with DesignPLUS in Canvas.

Video Walkthrough

Step-by-Step Instructions

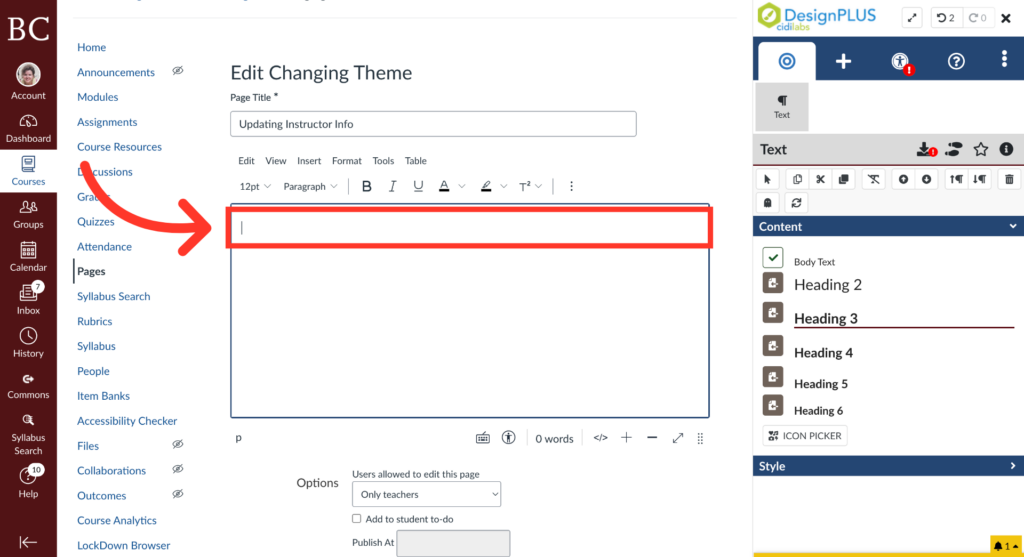
1. Click into the Rich Content Editor

A screenshot of an online course editing page shows a large red arrow pointing to a text box labeled Page Title, where the user can update instructor info. The left sidebar features navigation links like Home, Modules, and Quizzes.

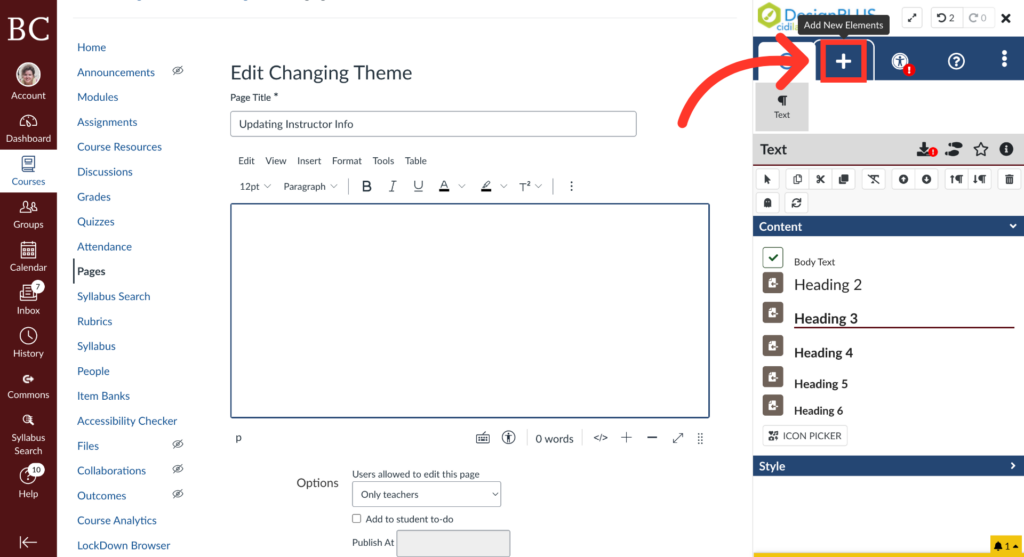
2. Click “Add New Element”

Screenshot of an online course editing page, showing the option to add new elements. A large red arrow points to a blue plus (+) button in the top right corner, indicating where to click to add content.

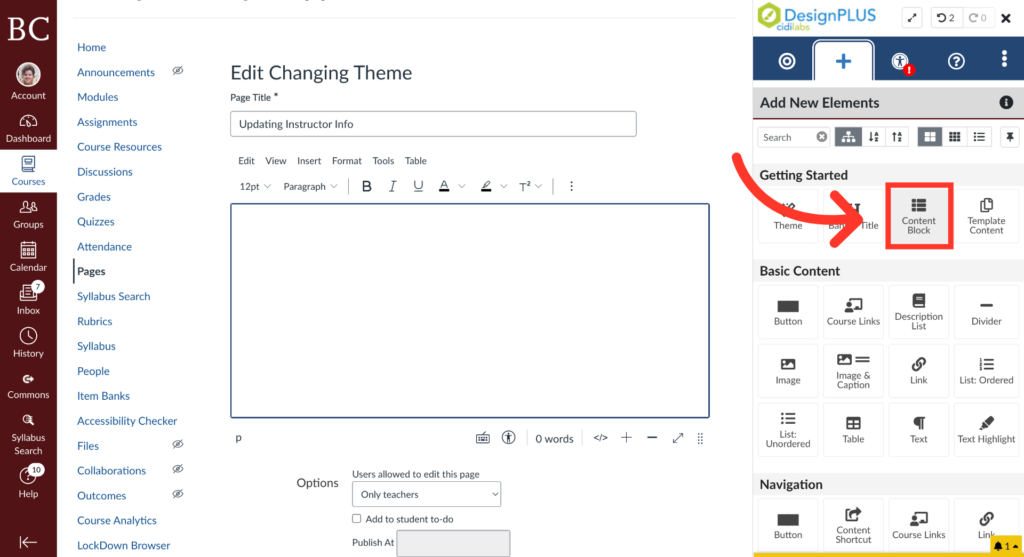
3. Select the “Content Block” Button
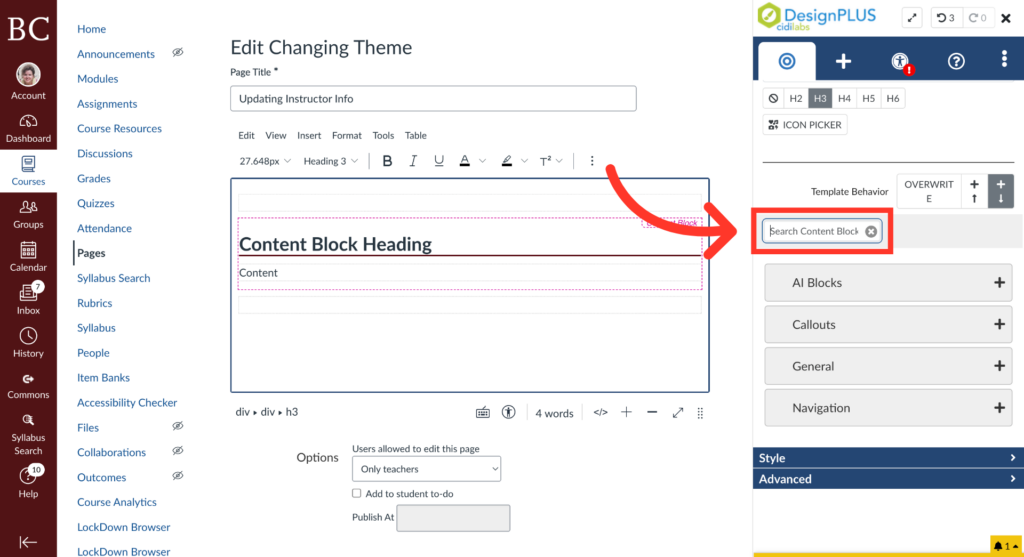
Screenshot of a web page editor with a sidebar on the left, a content editing area in the center, and a DesignPLUS panel on the right. A red arrow points to the Content button under Getting Started.

Scroll down the editing menu until you see the search bar, and click into it.

A screenshot of a course page editor with an arrow pointing to a Search Content Block field on the right, highlighting where to search blocks for adding to the page content area titled Content Block Heading.

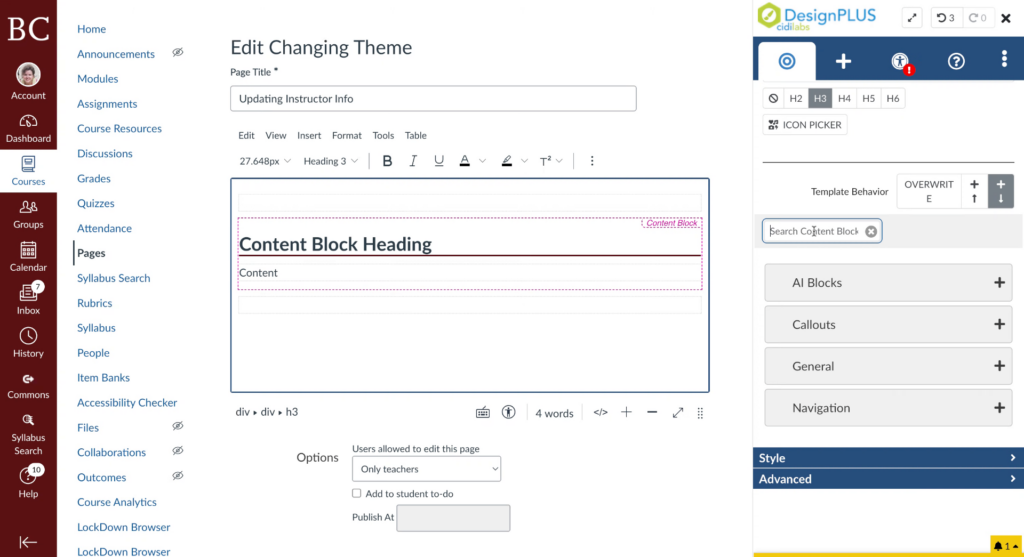
5. Enter Search Term

Enter the term related to the user to filter content blocks for instructor information.

A webpage editor is open showing a content block with the heading Content Block Heading and the word Content below it. Editing options and design tools are visible on the right side of the screen.

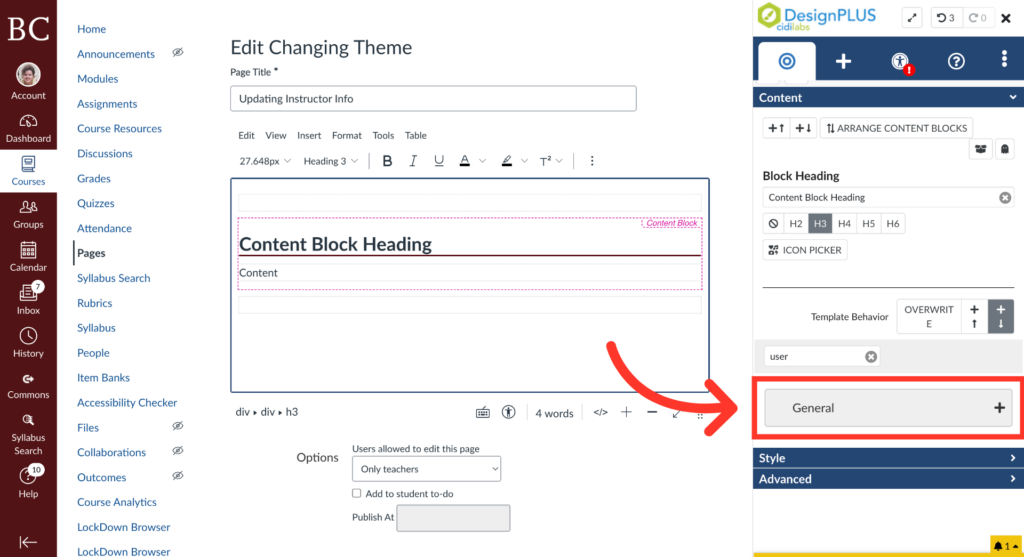
6. Search “User Details”

A screenshot of a website editor shows a page titled Edit Changing Theme with a content block labeled Content Block Heading. An arrow points to a user text field in the Block Heading settings on the right panel.

7. Open the “General” Menu

A webpage editor shows a Content Block Heading section. On the right, a settings panel is open with a red box highlighting the General field under Block Heading options. A large red arrow points to the boxed field.

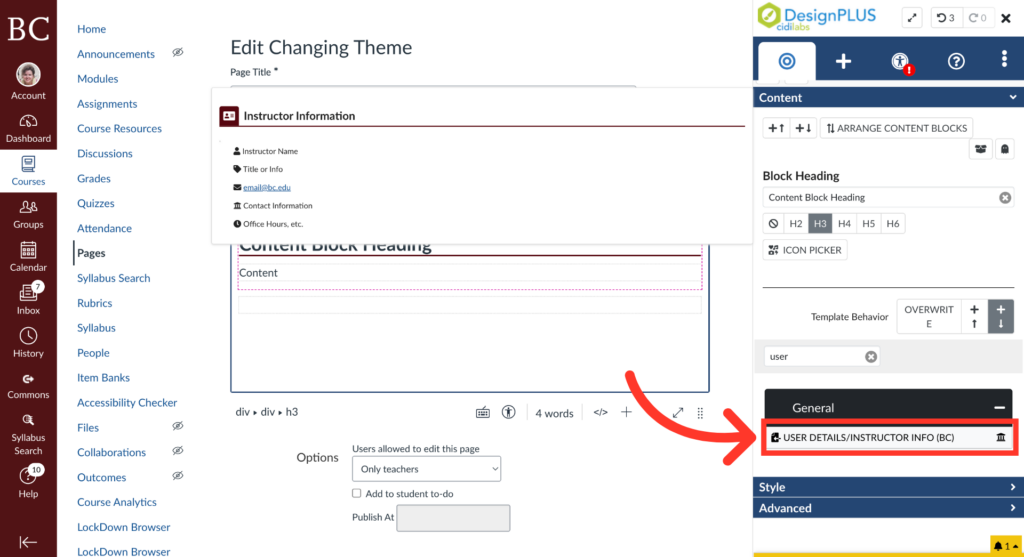
8. Click “User Details/Instructor Info (BC)”

A screenshot of a course management dashboard showing an Edit Changing Theme page. A red arrow points to the USER DETAILS (INSTRUCTOR INFO BIO) block on the right side content panel.

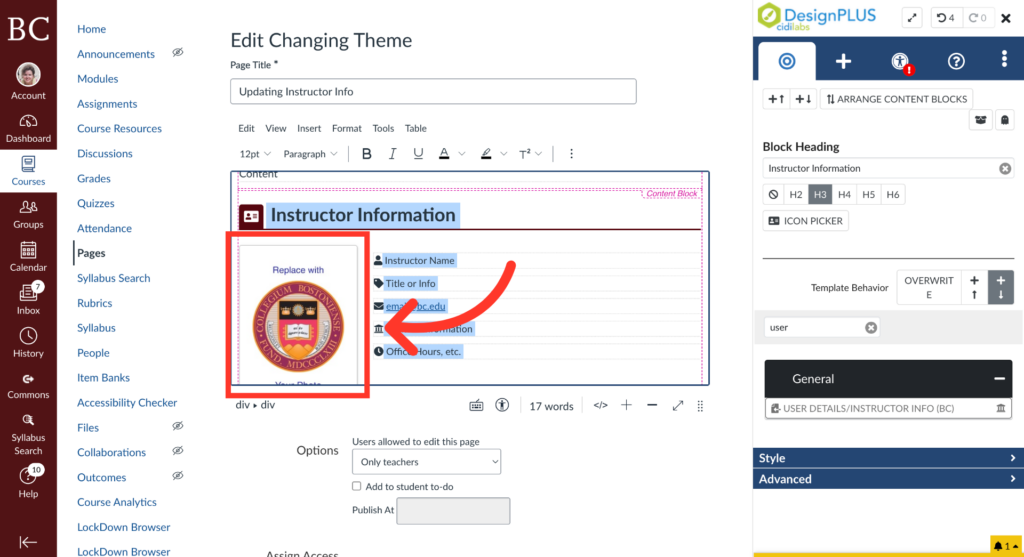
9. Add Instructor Image

Select the stand-in image to replace with an instructor photo.

A webpage editing interface shows an Instructor Information section with a school crest highlighted and a red arrow pointing to it, indicating where to replace the current image. Editing tools and block settings are visible on the right.

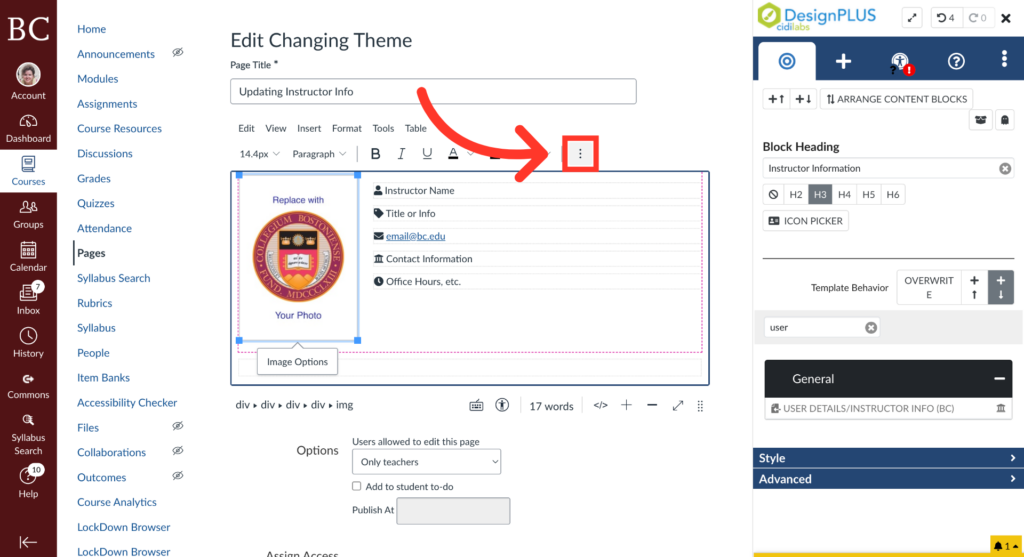
10. Open the Kebab Menu

A screenshot of a course webpage editor showing instructions for updating instructor info. A red arrow points to a three-dot menu on the table toolbar, prompting further action. Various editing options are visible on the right panel.

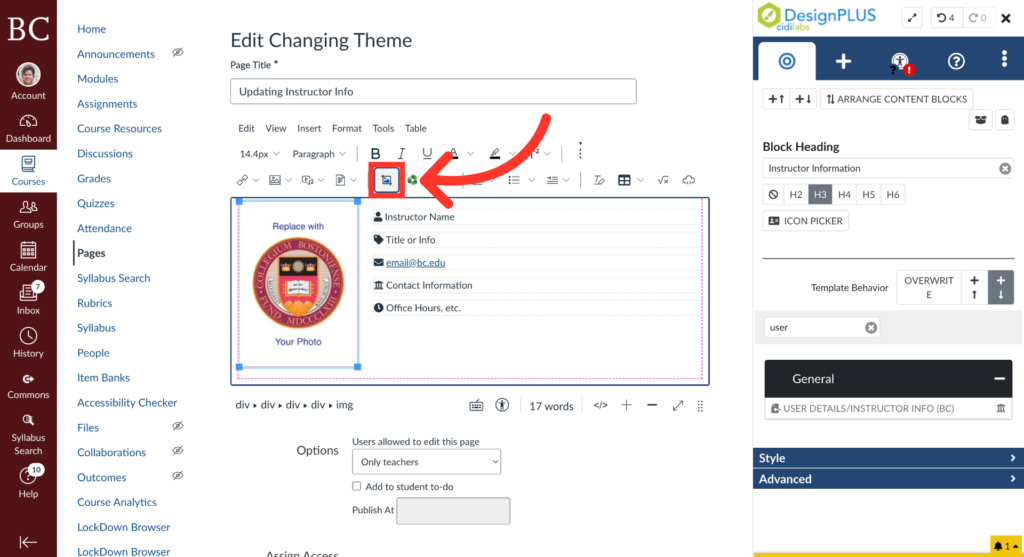
11. Click the “Cidilabs” Application Button

Screenshot of a web page editor in Canvas LMS. A red arrow points to the image icon in the toolbar above a table that includes a placeholder for an instructor photo and contact information. DesignPLUS menu is open on the right.

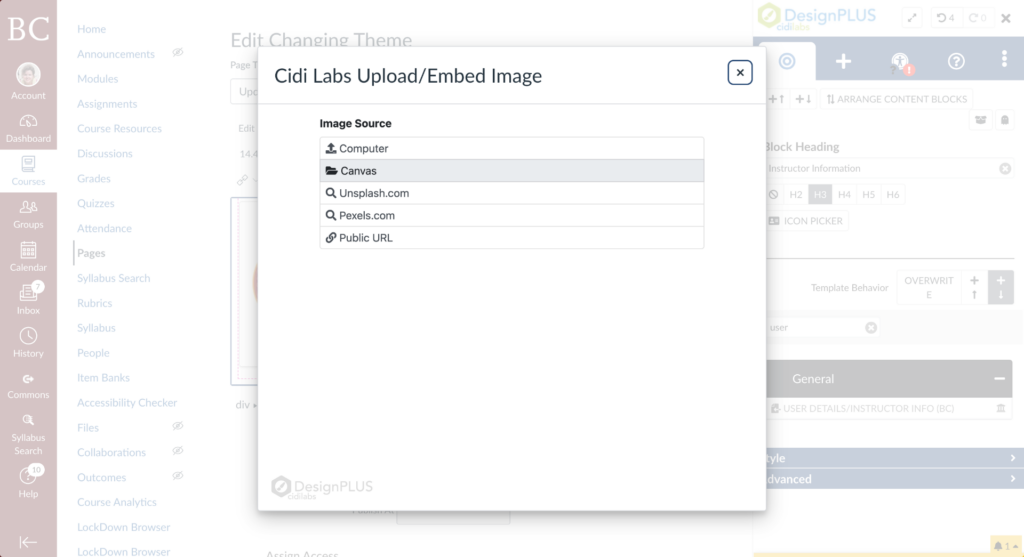
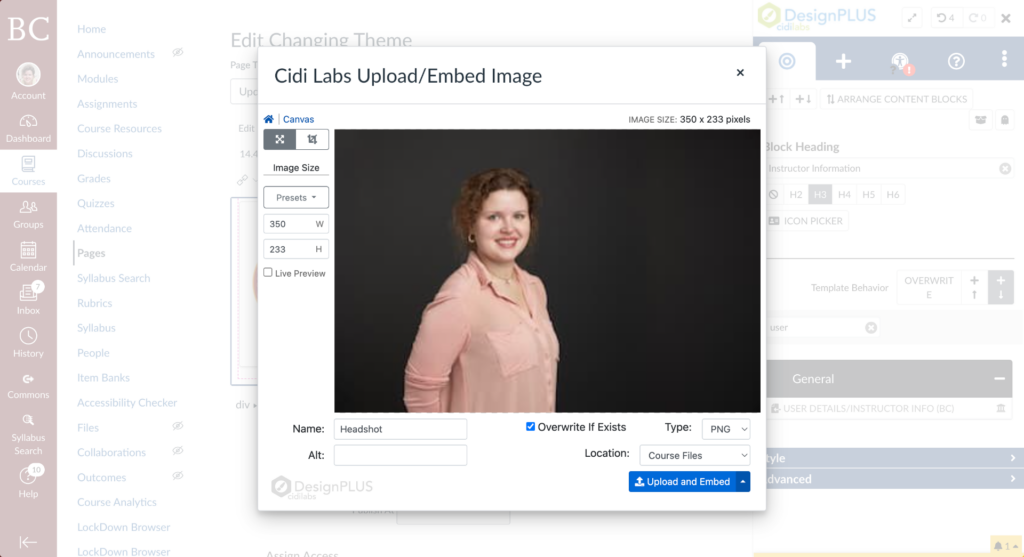
12. Select Image Source

For this example, we will be using an image from Canvas.

A pop-up window titled Cidi Labs Upload/Embed Image displays image source options: Computer, Canvas, Unsplash.com, Pexels.com, and Public URL. The background shows a partially visible web page with sidebar navigation.

13. Upload and Embed Media

Once you’ve selected your image, click “Upload and Embed.” If you want to use advanced editing options, see the Advanced Image Editing tutorial.

A screenshot shows an image upload window with a headshot of a woman with curly hair, wearing a light pink top, posing against a dark background. Upload options and settings are visible around the image preview.

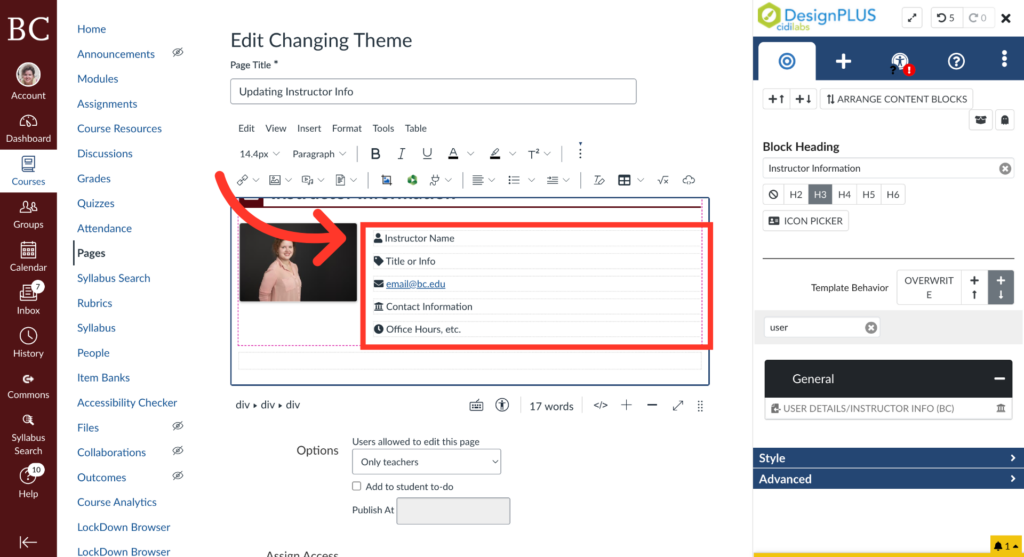
14. Update Content Block

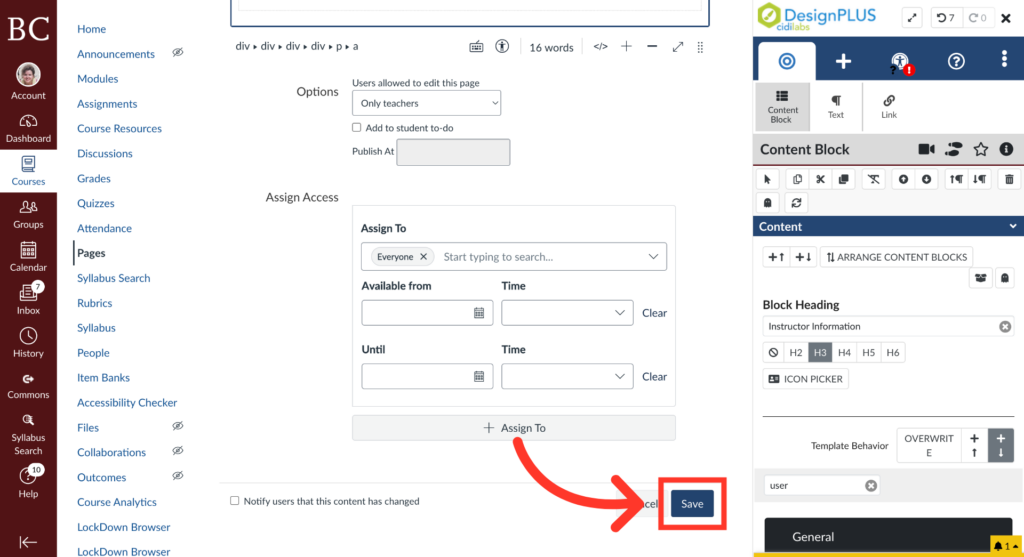
Click into the text of the Content Block to update each section as needed.

A screenshot of a course editing page showing an instructor’s photo and contact information being added, with a large red arrow and box highlighting the instructor info section. Editing menus and tools are visible on the sides.

15. Click “Save”

A screenshot of a course management system shows the process of assigning access with date/time fields and a highlighted red arrow pointing to a blue “Save” button at the bottom right corner.

Last Updated