Using a Check Plus, Check, Check Minus grading scheme for weekly learning activities allows for targeted and speedy feedback.
Video Walkthrough
Step-by-Step Instructions
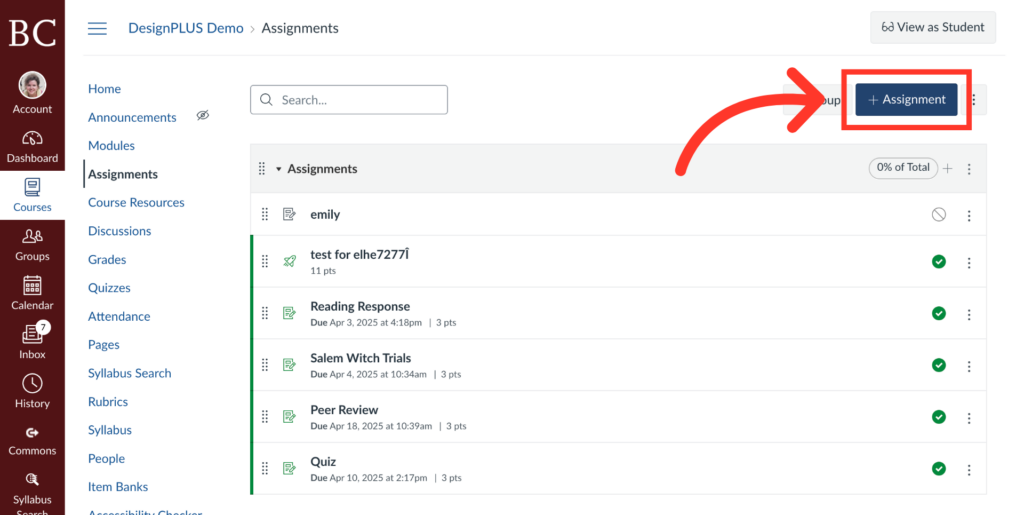
1. Click “Assignments”
Click the assignment button as indicated to create a new assignment.
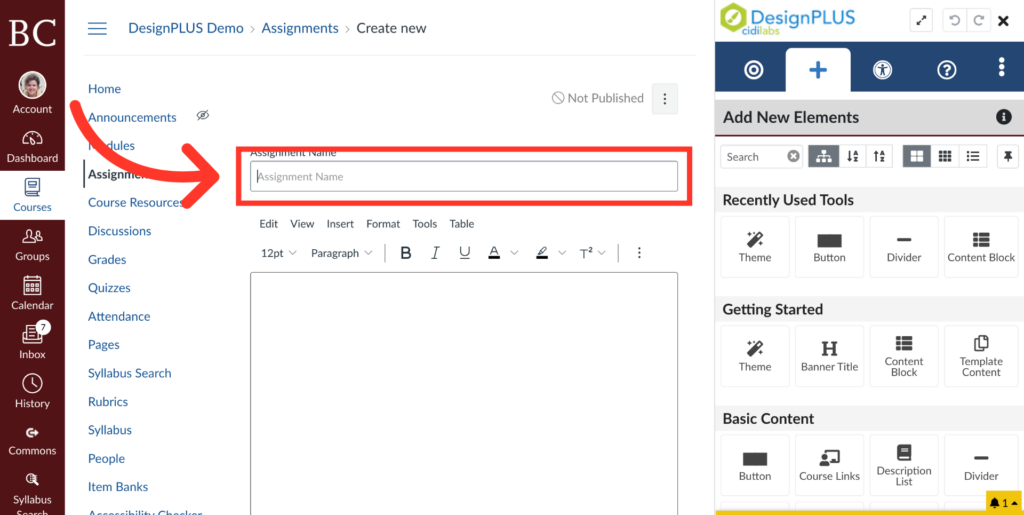
2. Add an Assignment Name
Write an assignment name in the indicated box.
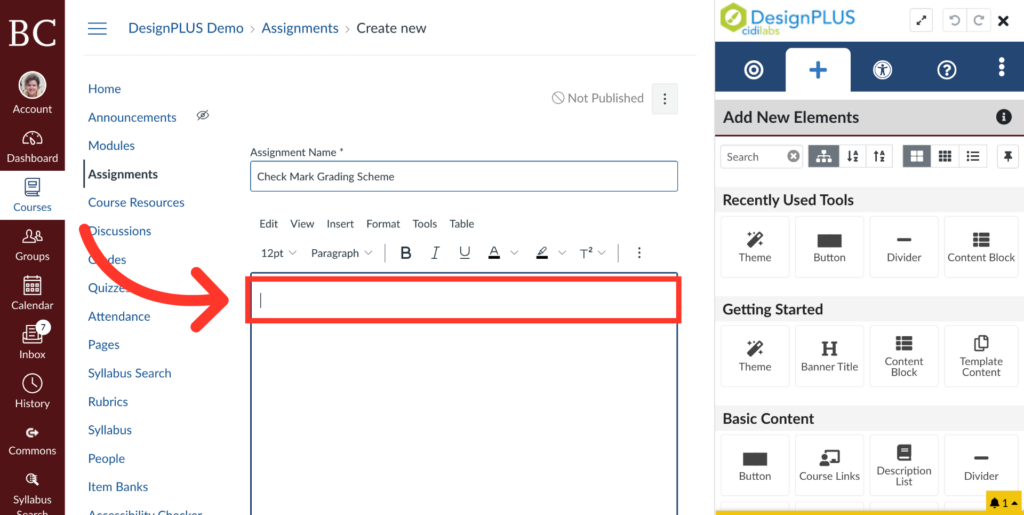
3. Add Assignment Instructions
Write assignment instructions in the Rich Content Editor, indicated here.
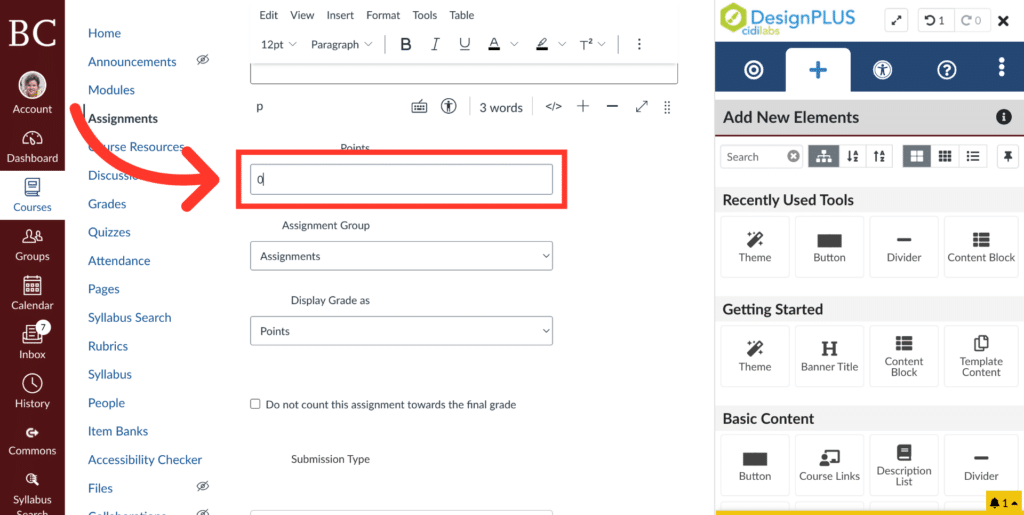
4. Adjust Assignment Points
Change the points to reflect how much the assignment is worth.
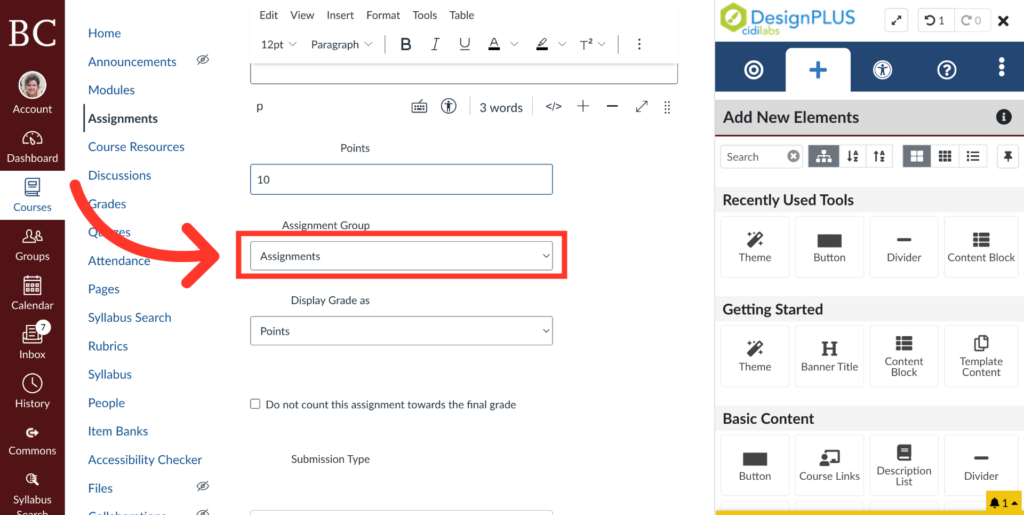
5. Open Assignment Group Menu
Use the dropdown menu indicated to select which group the assignment belongs to.
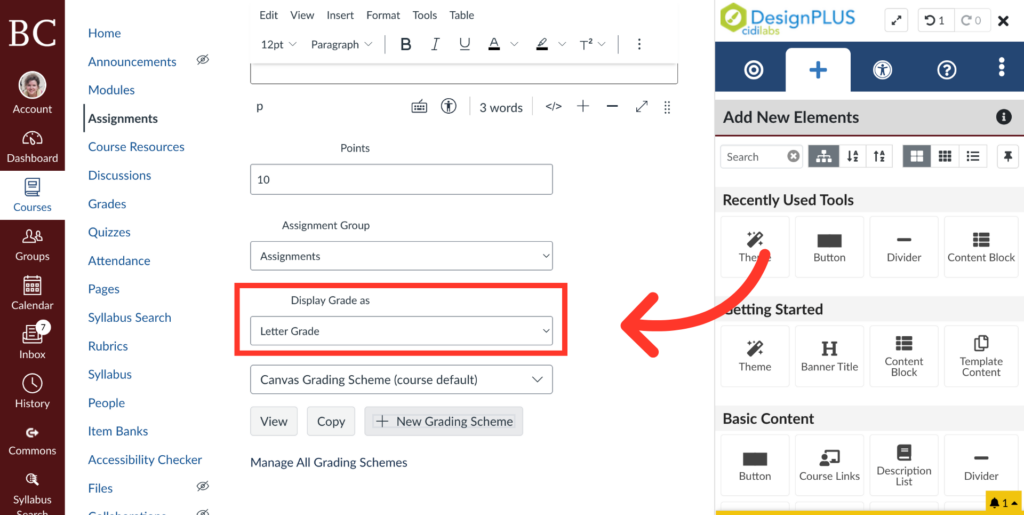
6. Change the Grade Display
Click on the “Display Grade as” menu and switch to the “Letter Grade” option
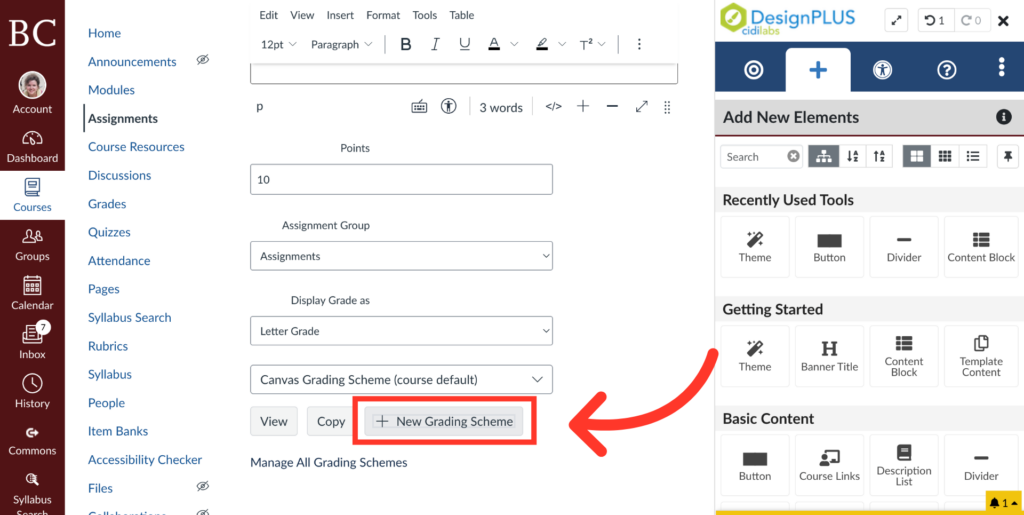
7. Click “New Grading Scheme”
Click the button as indicated to create a new grading scheme.
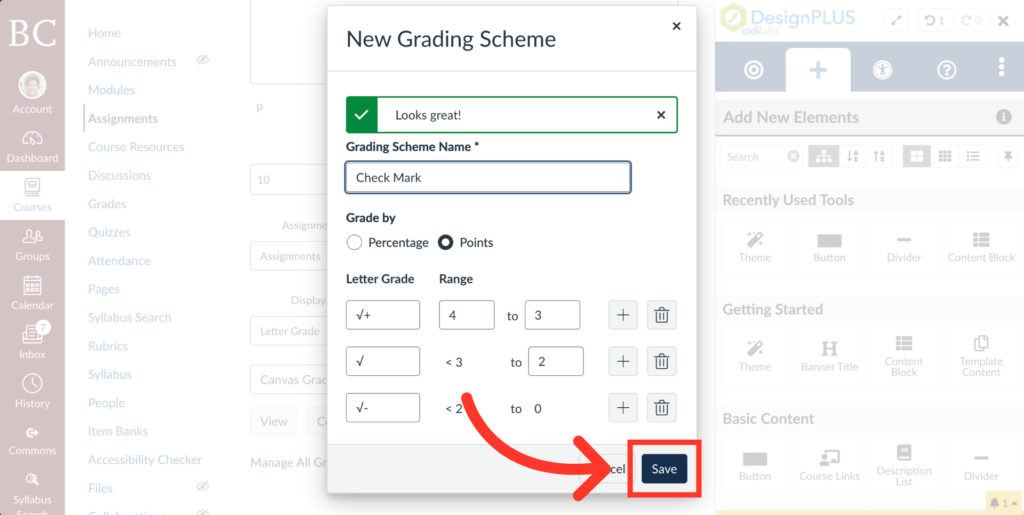
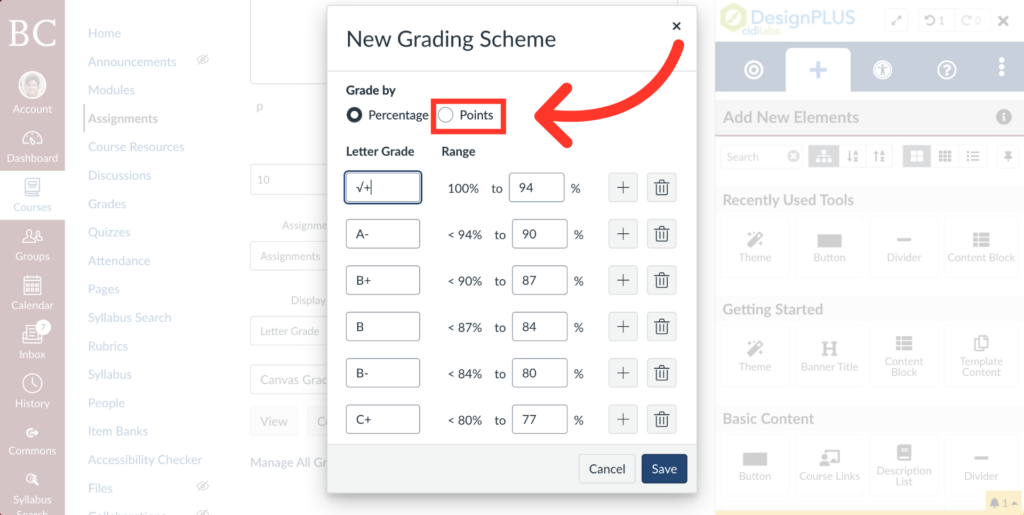
8. Change from Percentage to Points
Click from the Percentage option to the Points option.
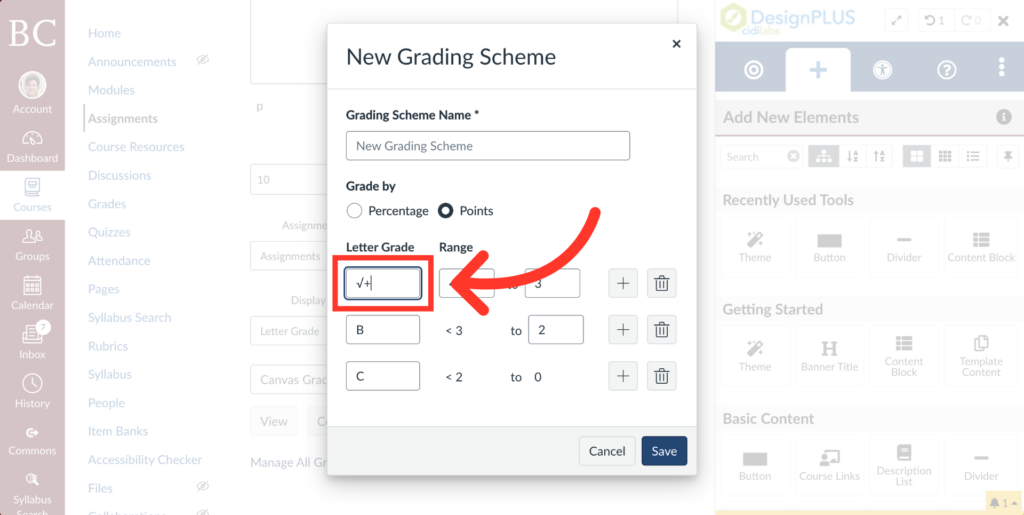
9. Change Grade Symbol
Change letter grades to check mark symbols. For this example, we will be changing A to check plus, B to check, and C to check minus.
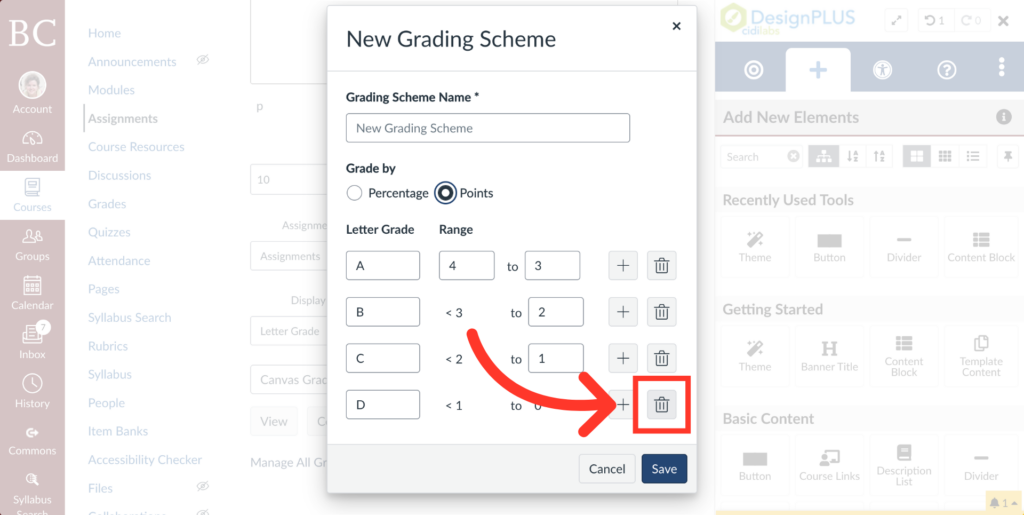
10. Remove Extra Letter Grade
Remove any unused letter grades after you’ve added your check marks by clicking the trash icon.
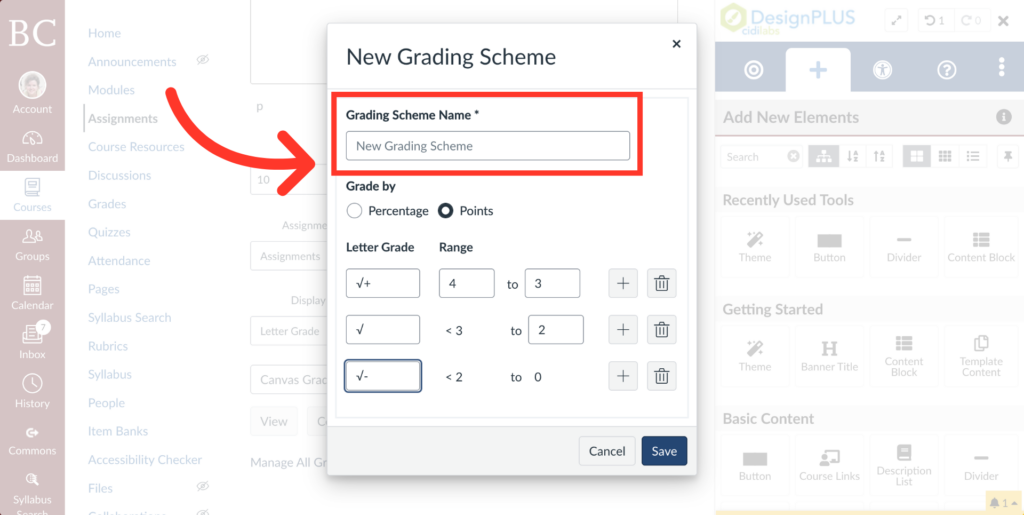
11. Add a New Name for Your Grading Scheme
Title your grading scheme
12. Click “Save”
Finally, click “Save” to save this scheme.