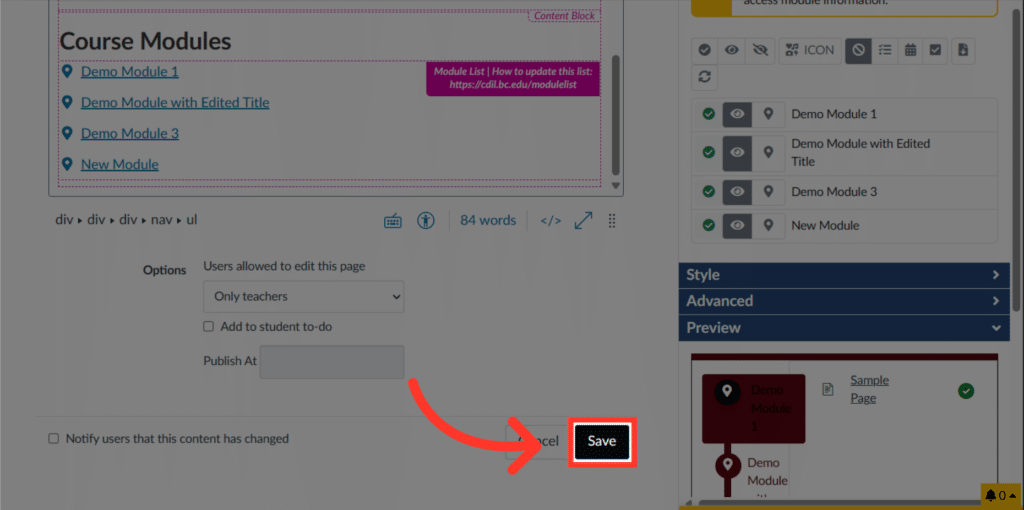
The module homepage list created by DesignPLUS needs to be updated manually to reflect any changes you make to modules.
Note: If you don’t see the DesignPLUS sidebar in your Canvas page, use the keyboard shortcut Command + 1 to enable it. See the Enabling DesignPLUS page for more details.
About the Homepage Module List
The DesignPLUS Module List creates an alternative view of the default Canvas Modules that can appear on your homepage.

Please note that the list does not automatically update if you make changes to Canvas Modules such as adding modules, changing module titles, or reordering.
This means that you need to open the DesignPLUS sidebar to update which modules will appear on the list manually.
Video Walk-Through
This video demonstrates how to update the module homepage list in the new version of DesignPLUS.
For instructions on opening DesignPLUS, see Enabling DesignPLUS.
For more information on module lists, see: Module Lists: [New] DesignPLUS User Guide
Steps for Updating the Module List
For instructions on opening DesignPLUS, see Enabling DesignPLUS.
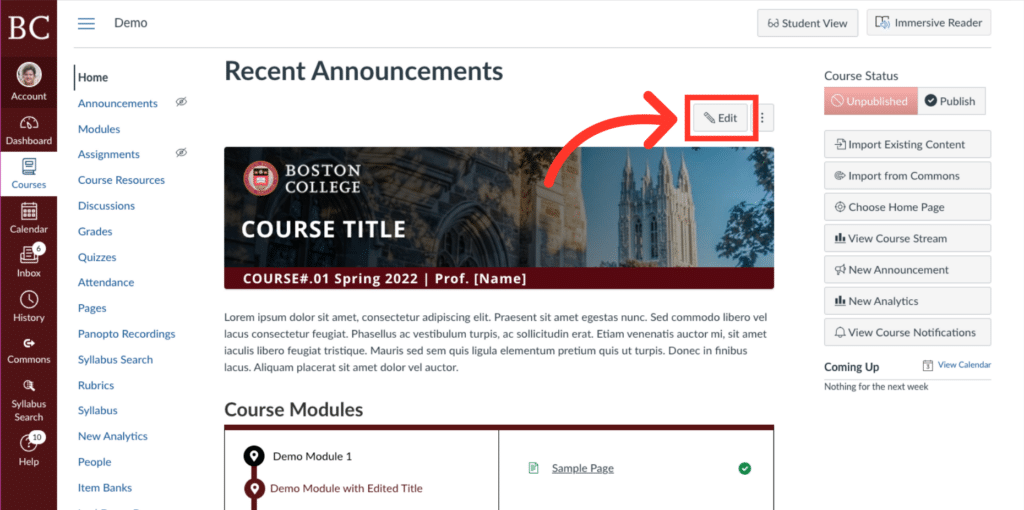
1. Click “Edit”
To begin, click the “edit” button on the home page of your Canvas course.
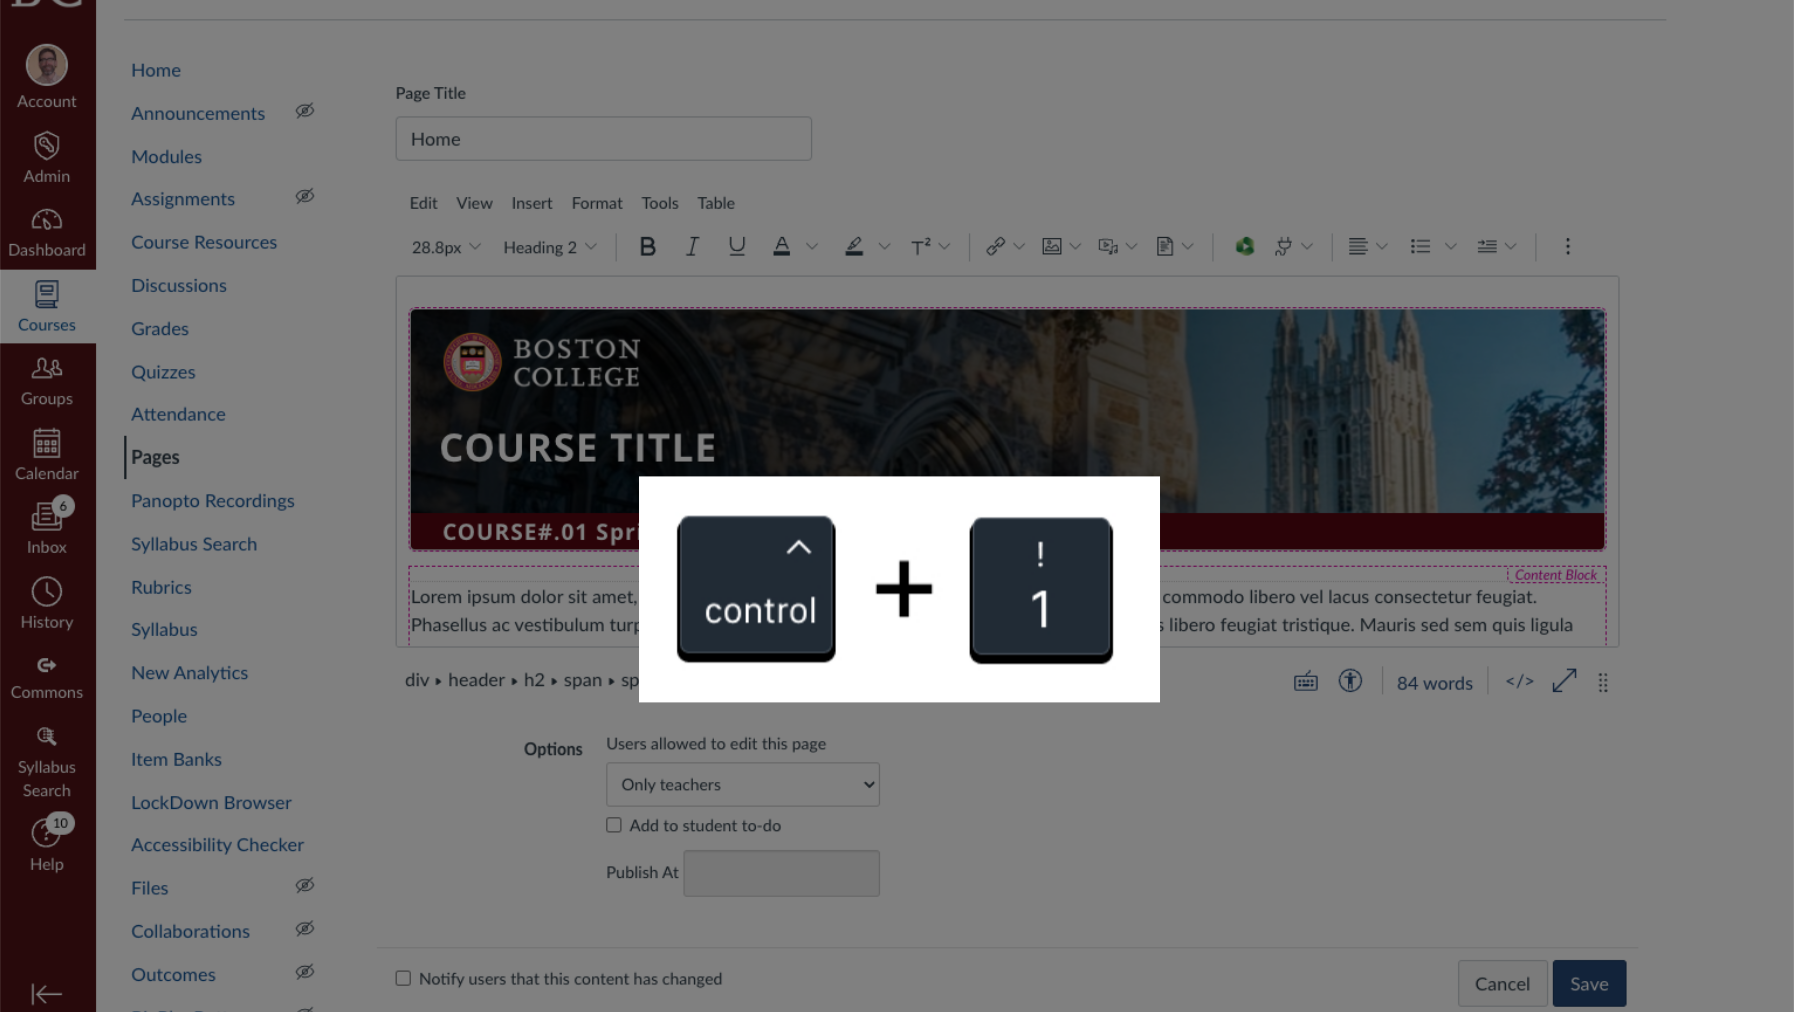
2. Open the DesignPLUS sidebar (if it’s not open already)
If you haven’t opened DesignPLUS yet, you can use the shortcut Ctrl + 1 to open the sidebar
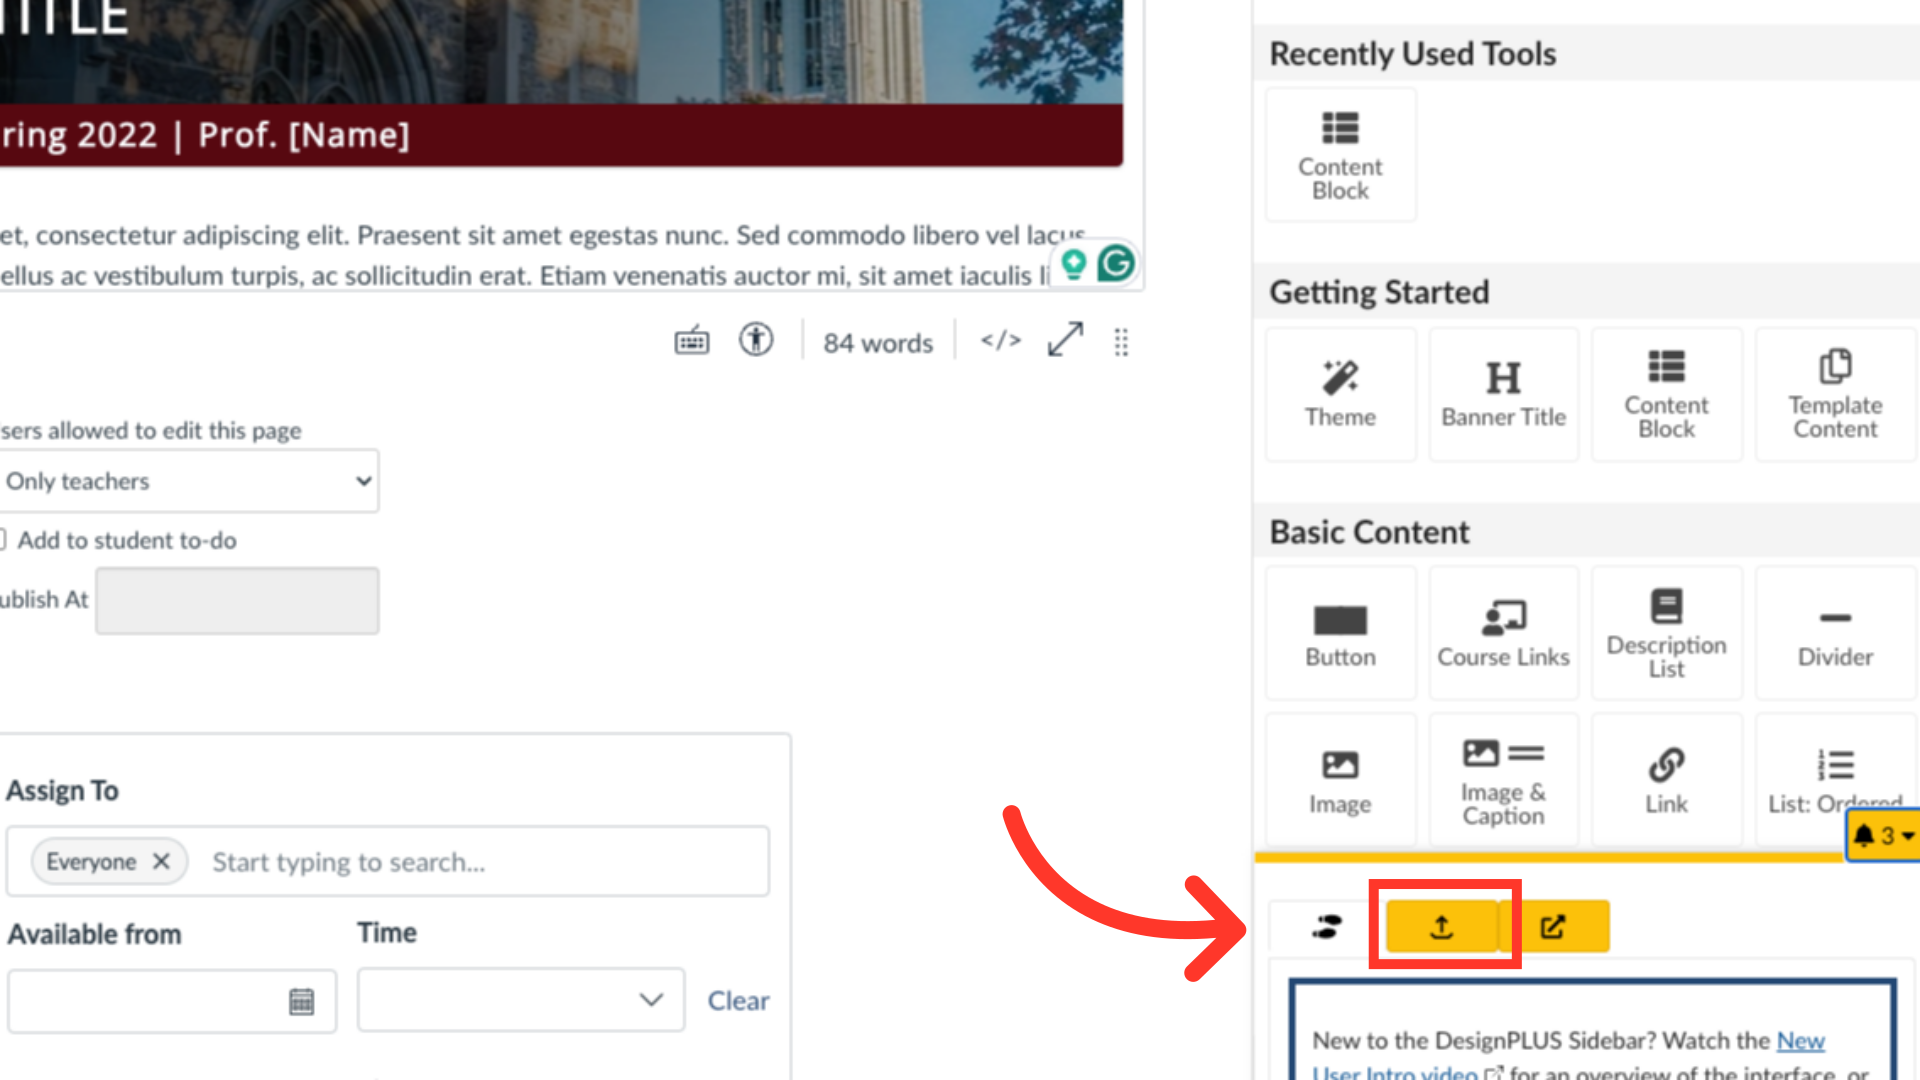
3. Check to make sure the page has been updated
Once the sidebar is open, check to see if there’s an orange button with an arrow pointing up in the bottom right corner of the page. If so, you’ll need to follow the directions to update this page to the new version of DesignPLUS before moving to the next step.
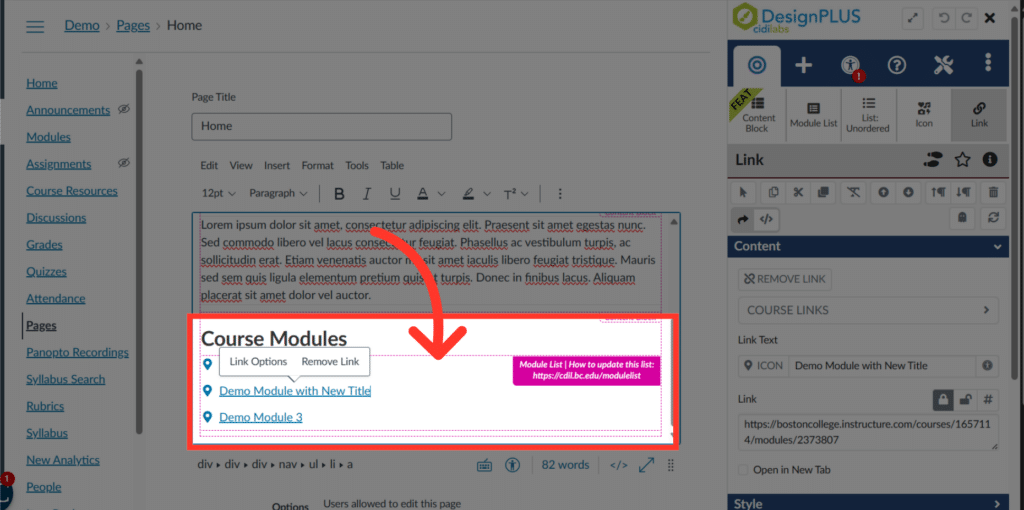
4. Click anywhere in the “Course Modules” Section
Once on the edit page, click anywhere in the module list section to make it available for editing in the DesignPLUS sidebar.
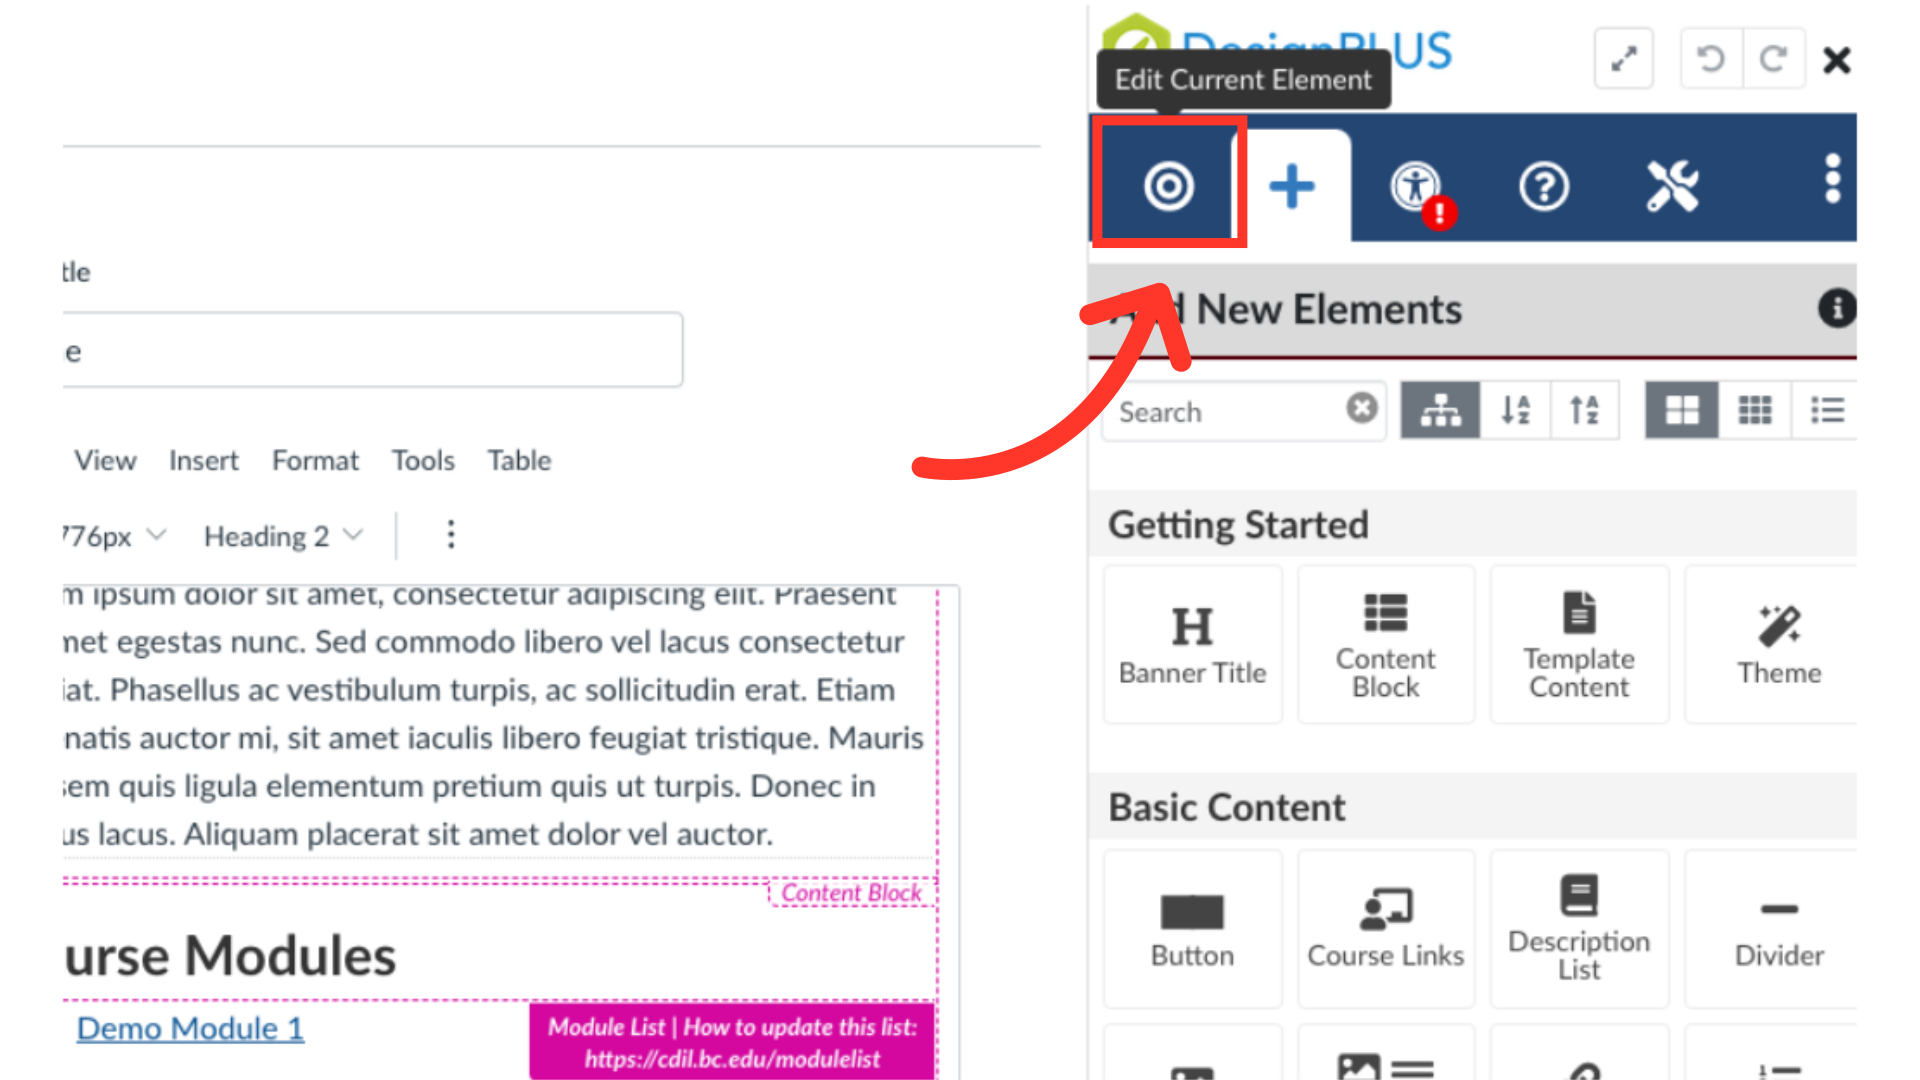
5. Make sure this tab is active
Check to make sure the “edit current element” tab is white. If it’s blue, click it to activate that pane.
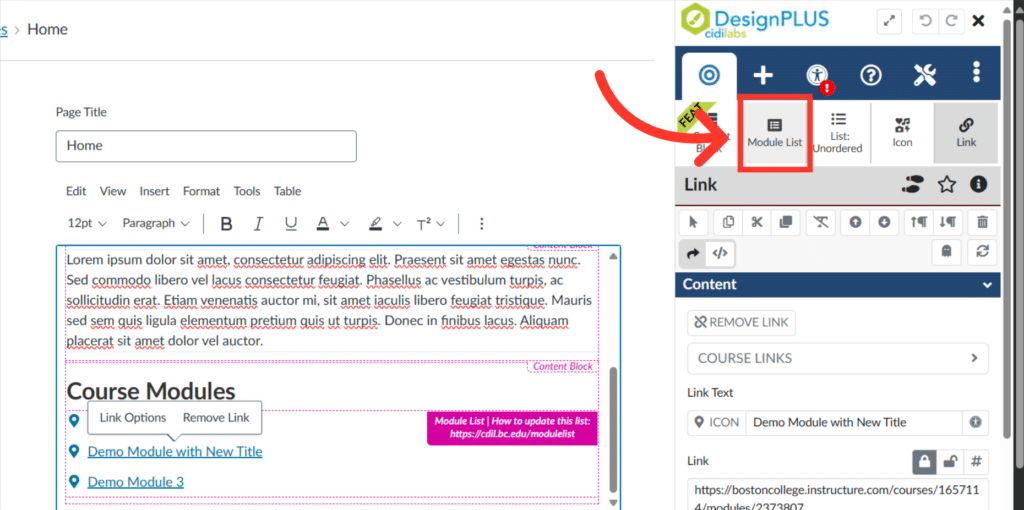
6. Click the “Module List” button in the sidebar
In the DesignPLUS sidebar, click on the “Module List” button to reveal the editing options for this element.
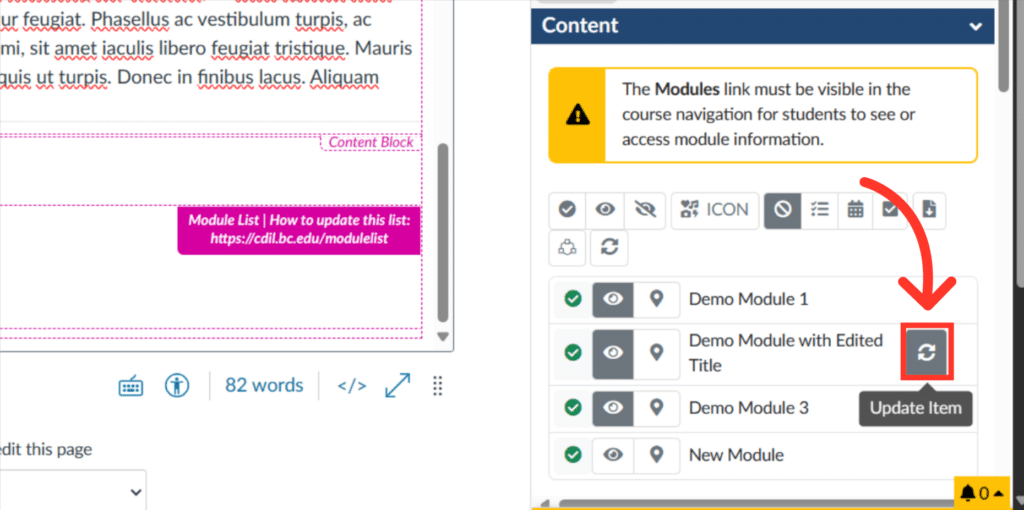
7. Click the “Update Item” button to update titles
The first step is to update any modules with a changed title by clicking the “Update Item” symbol next to the relevant module.
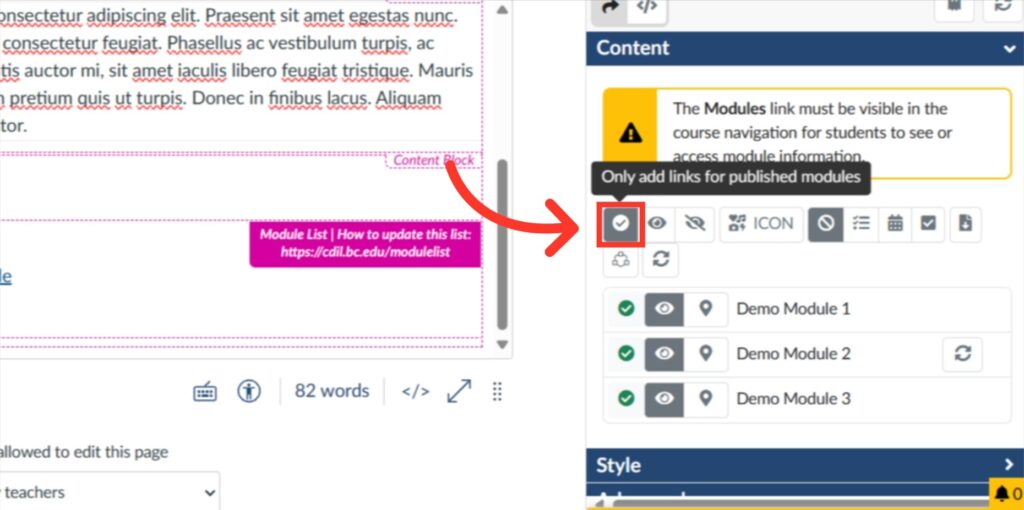
8. Click “Only add links for published modules” to update the module list
Next, click the “Only Add Links for Published Modules” button to make sure all appropriate modules appear in the homepage list.
9. Click “Save” to finish
Finally, save the changes made during editing by clicking the “Save” button. Be sure to check your home page after saving to ensure the course modules are properly reflected.
