The Edit Current Element Tab provides ways to working with DesignPLUS content once you’ve add it Canvas.
Note: If you don’t see the DesignPLUS sidebar in your Canvas page, use the keyboard shortcut Command + 1 to enable it. See the Enabling DesignPLUS page for more details.
Video Walkthrough
Step-by-Step Instructions
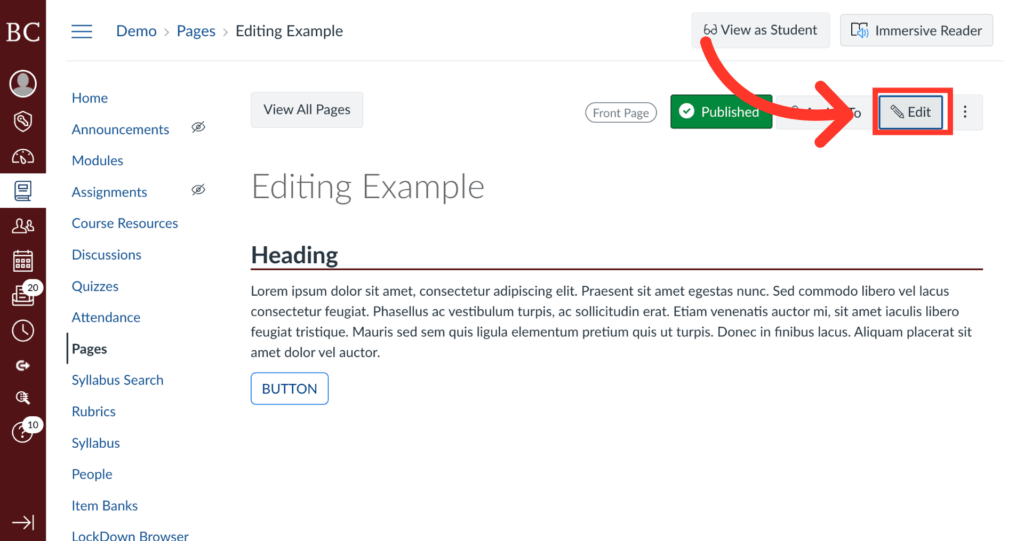
1. Click Edit
To begin, click the editing button in the upper right corner of the screen.
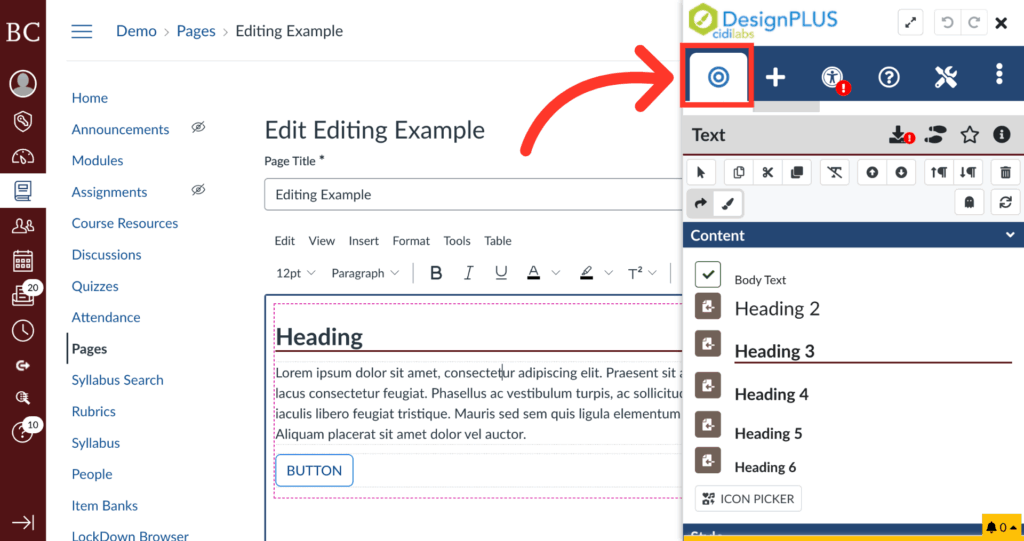
2. Click on the “Edit Current Element” Tab
To ensure you’re in the right menu, click on the “Edit Current Element” tab switch to the editing panel.
3. Click on Element to Edit
Click on the element in the Rich Content Editor you wish to edit. For this example, we will be editing a button.
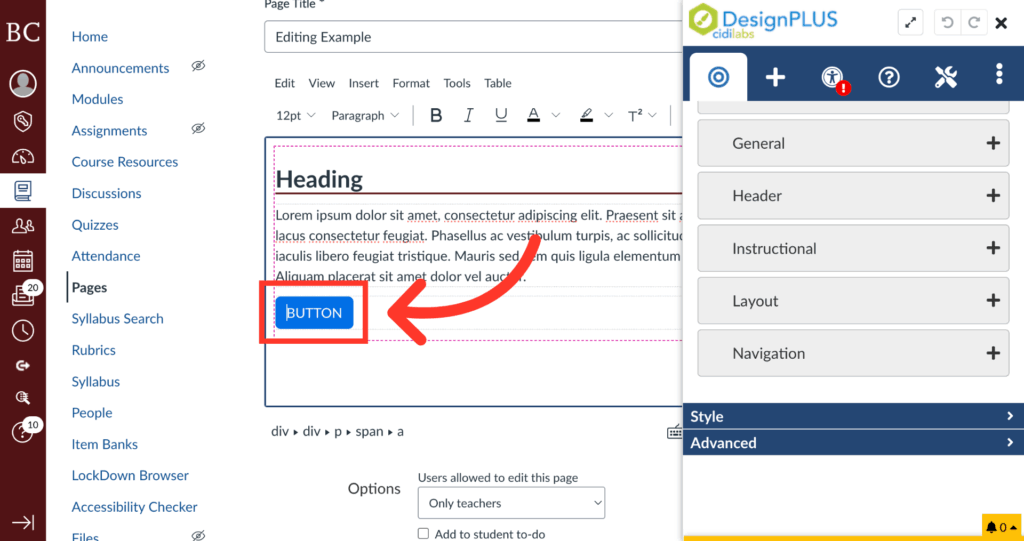
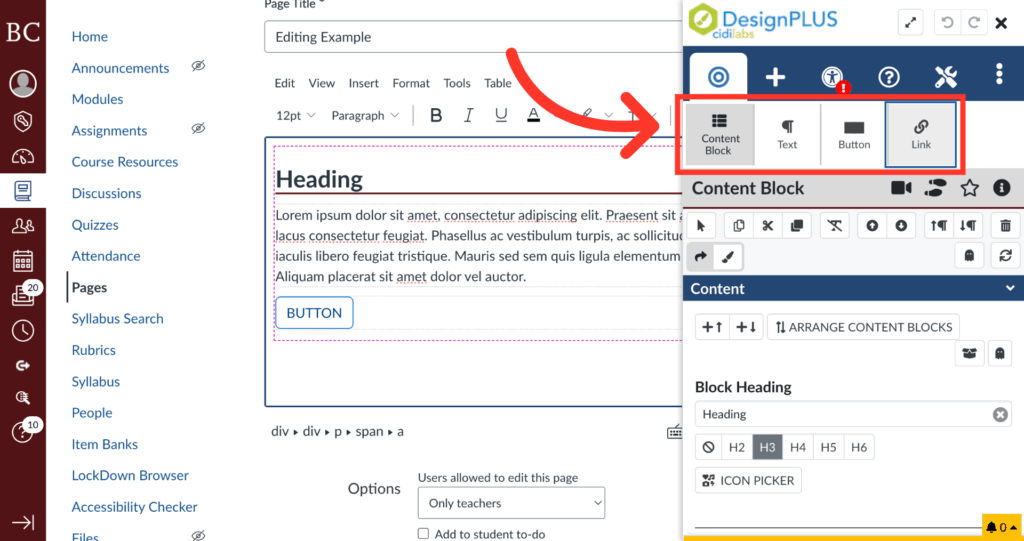
4. Select Element in Editing Panel
The editing panel, indicated here, allows you to select exactly which element to focus on. For example, if you wanted to add an icon to a button, you would click on the “Button” tab.
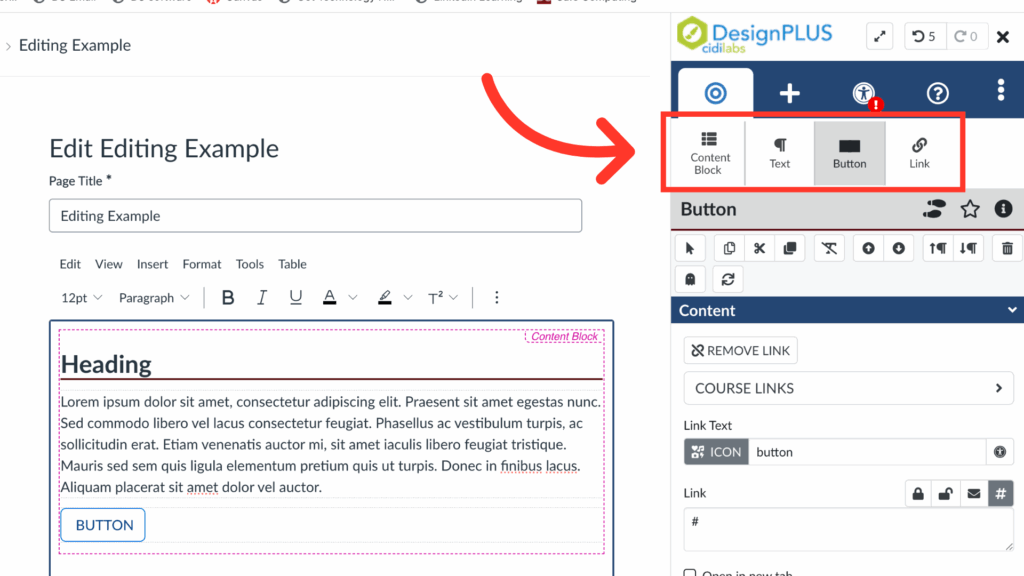
5. Select a Containing Element
If you wanted to edit an element that contains the button – in this case, a Content Block, you would click on “Content Block” in the Editing Panel.
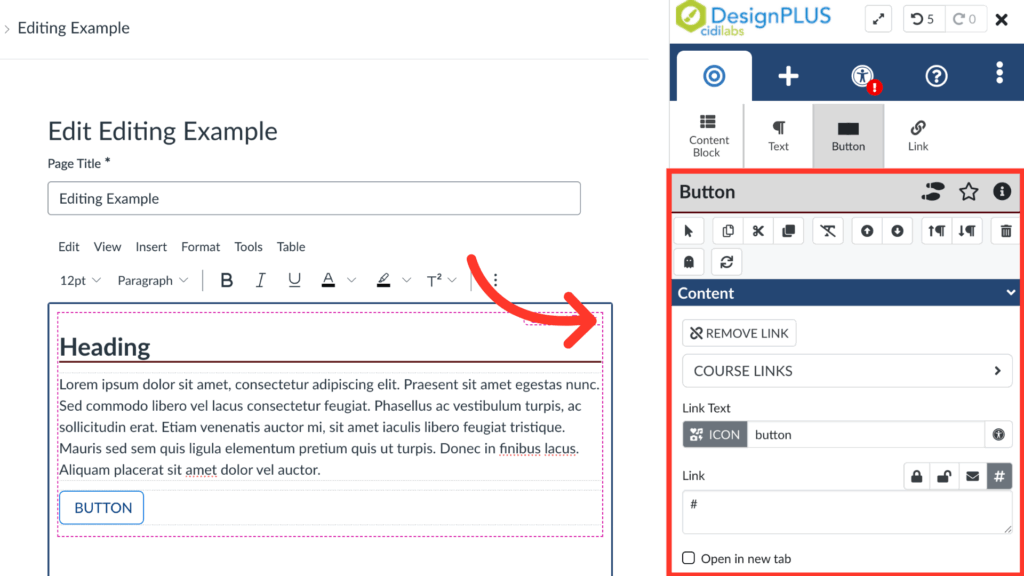
6. Locate the Content Menu
Under the Edit menu, you will see the action bar, Content menu, Style menu, and a preview of the element. Most basic editing will happen in the Content Menu.
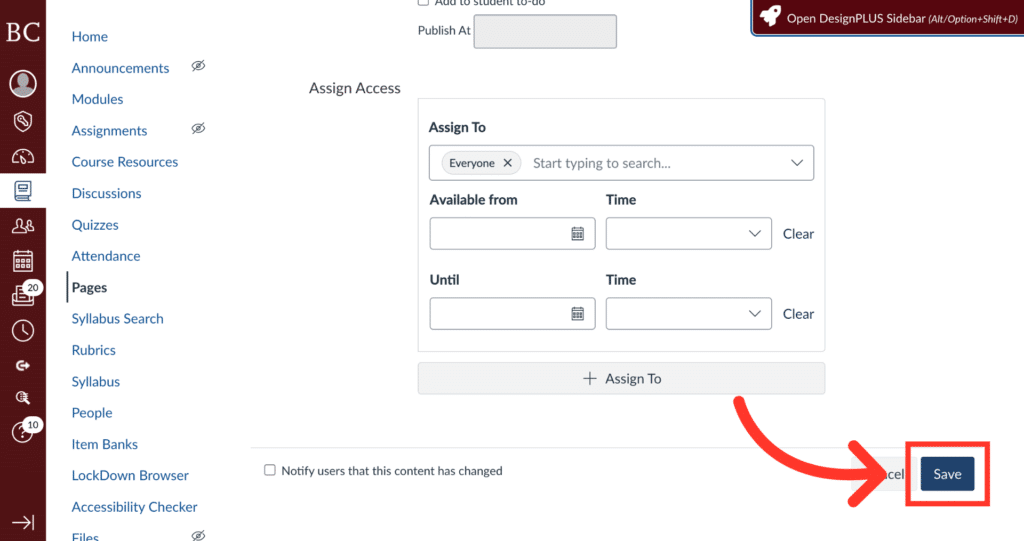
7. Click Save Button
When you’re finished editing, click “Save” in the lower right corner to save all changes.