Adding Content in DesignPLUS

DesignPLUS provides a variety of content types you can add to Canvas to enhance the experience of your site.

Video Walkthrough

Step-by-Step Instructions

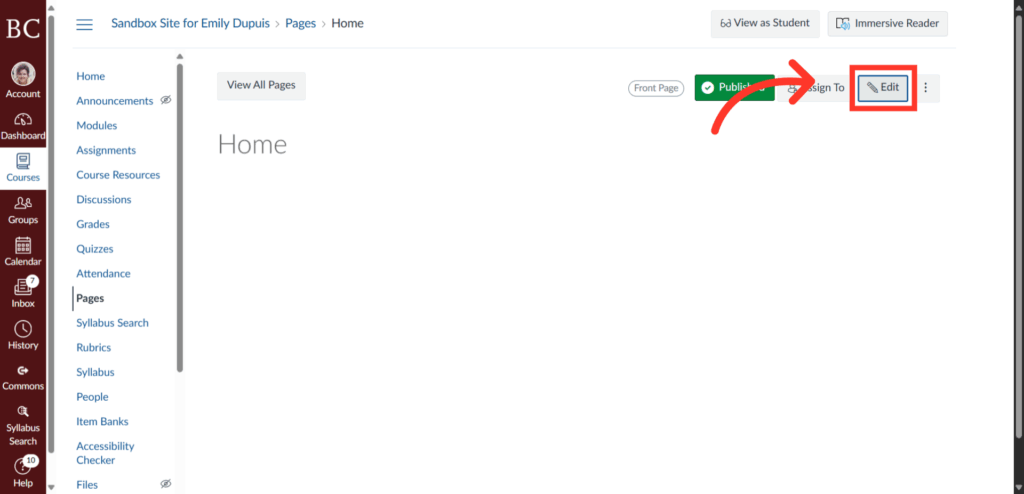
1. Click Edit Button

To begin, click the “edit” button in the top right of your Canvas page.

A screenshot of a Canvas course page titled Home. A red arrow points to the Edit button near the top right corner of the page, highlighting where to click to edit the page content.

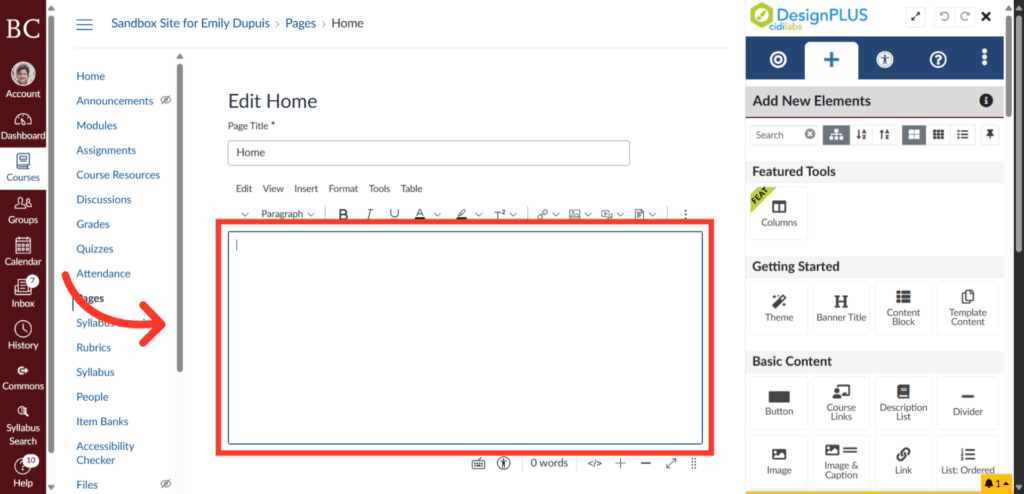
2. Click into the Rich Content Editor

Click into the Rich Content Editor where you would like to place the new element.

Screenshot of a web page editor with a blank text box highlighted in red. An arrow points to the text box, and various menu options are visible on the left and right sides of the screen.

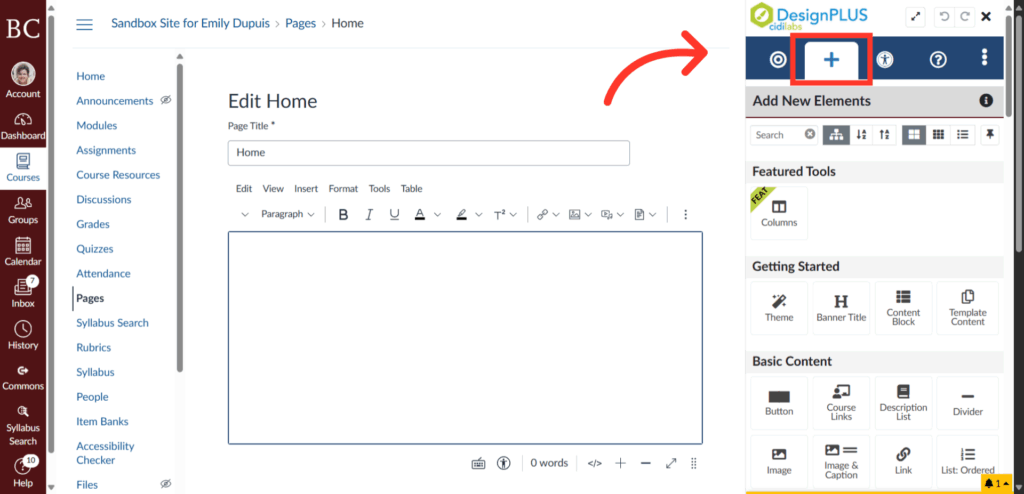
3. Select “Add New Elements”

Make sure you’re in the correct menu on the DesignPLUS toolbar. For adding elements, you must select and work within the indicated menu.

Screenshot of a webpage editor with an open Edit Home page. An arrow points to a plus sign in the DesignPLUS panel on the right, highlighting the option to add new elements to the page.

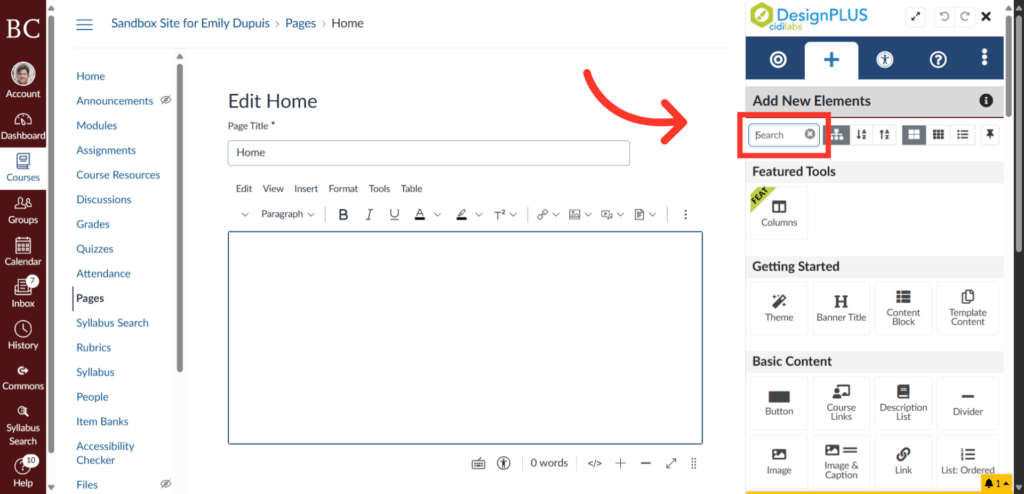
4. Click Search Option

There are two ways to add an element. First, you can look it up on the search bar if you know exactly what you are looking for.
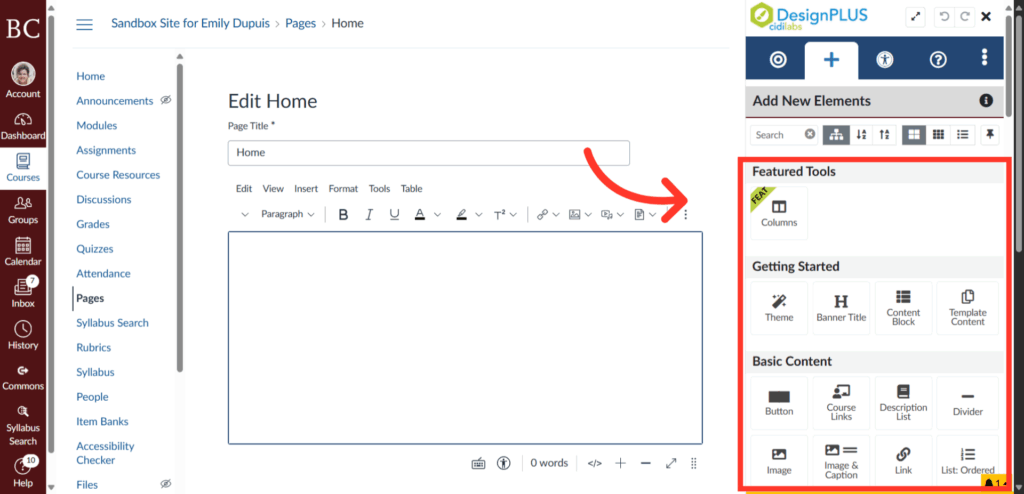
A screenshot of a webpage editor shows an Edit Home page on the left and an Add New Elements panel on the right, with a red arrow pointing to a highlighted search bar in the panel.

5. Browse the Menu

The second option is to scroll through the Add New Element menu to find what you would like to add.

Screenshot of a website editing page with a highlighted sidebar titled Featured Tools showing options like Columns, Button, Image, Text, and more for adding elements to the page.

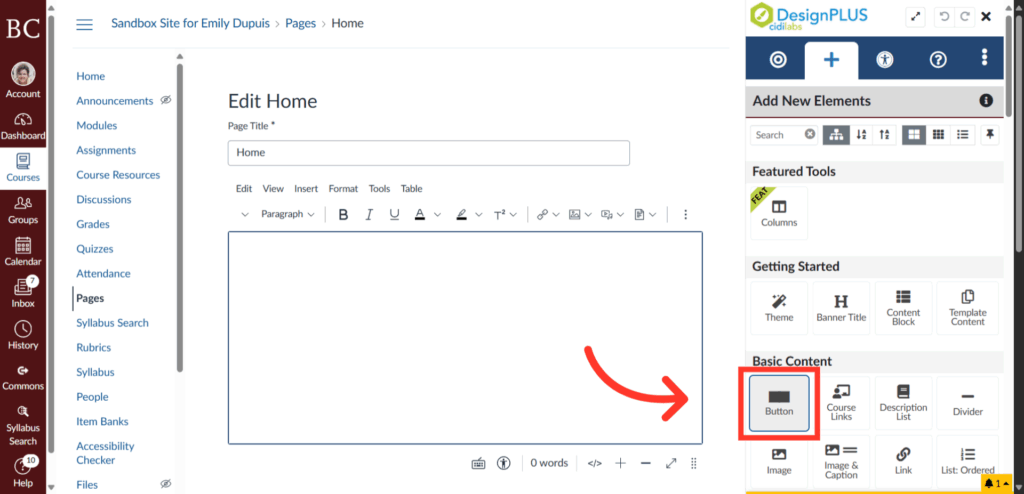
6. Select the Appropriate Element

In this example, we will be adding a button. Simply clicking the “Button” block will automatically add it to the Rich Content Editor.

Screenshot of a website editing page with a large text box in the center and a menu on the right. A red arrow points to a highlighted Button option under Basic Content in the Add New Elements panel.

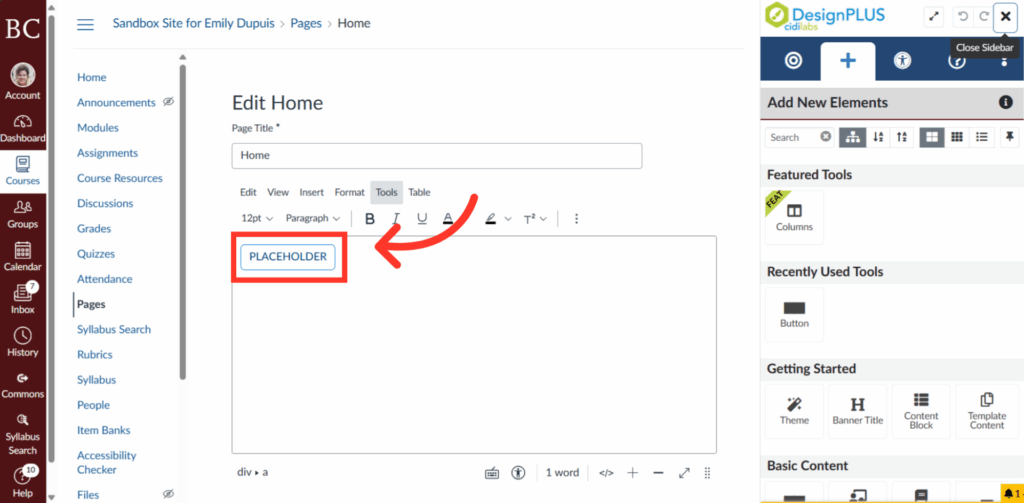
7. Check the Rich Content Editor

Double check to make sure the appropriate element has been added to the Rich Content Editor.

Screenshot of a website editing page showing a text editor with the word PLACEHOLDER highlighted and pointed to by a red arrow; website navigation and editing tools appear on the left and right sides.

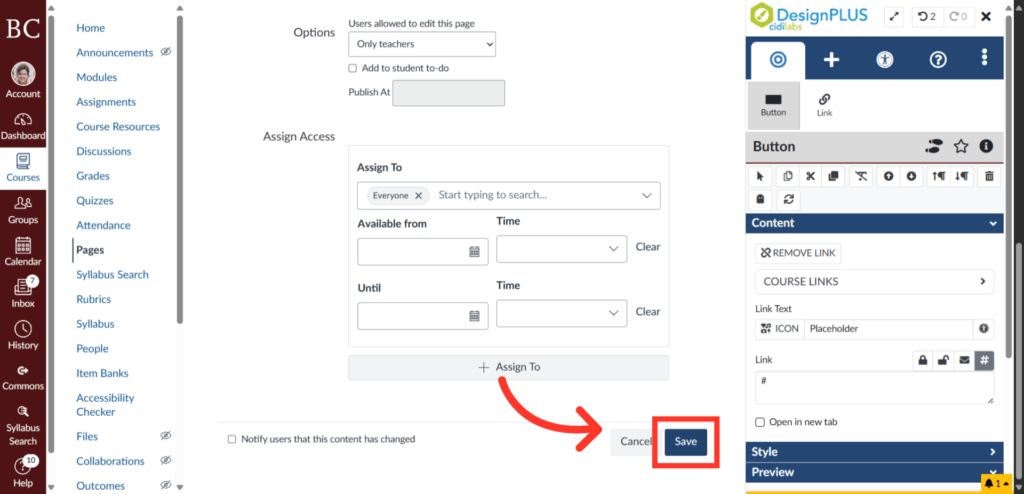
8. Click Save Button

Click the Save button to apply and save the changes made to your design.

A screenshot of a web page showing assignment access settings and a design tool panel. A red arrow points to a blue Save button at the bottom of the settings form.

Last Updated