Capturing Slides with Panopto

This guide explains how to capture slides using Panopto’s browser-based recording feature.

Video Walkthrough

Step-by-Step Instructions

1. Open the Canvas site in which you’d like to save your slideshow

Screenshot of a course announcement page titled LOVE, OBSESSION, DELUSION with options for syllabus and modules, a painting of Ophelia, and a welcome message below. Sidebar and navigation menus are visible on the left and right.

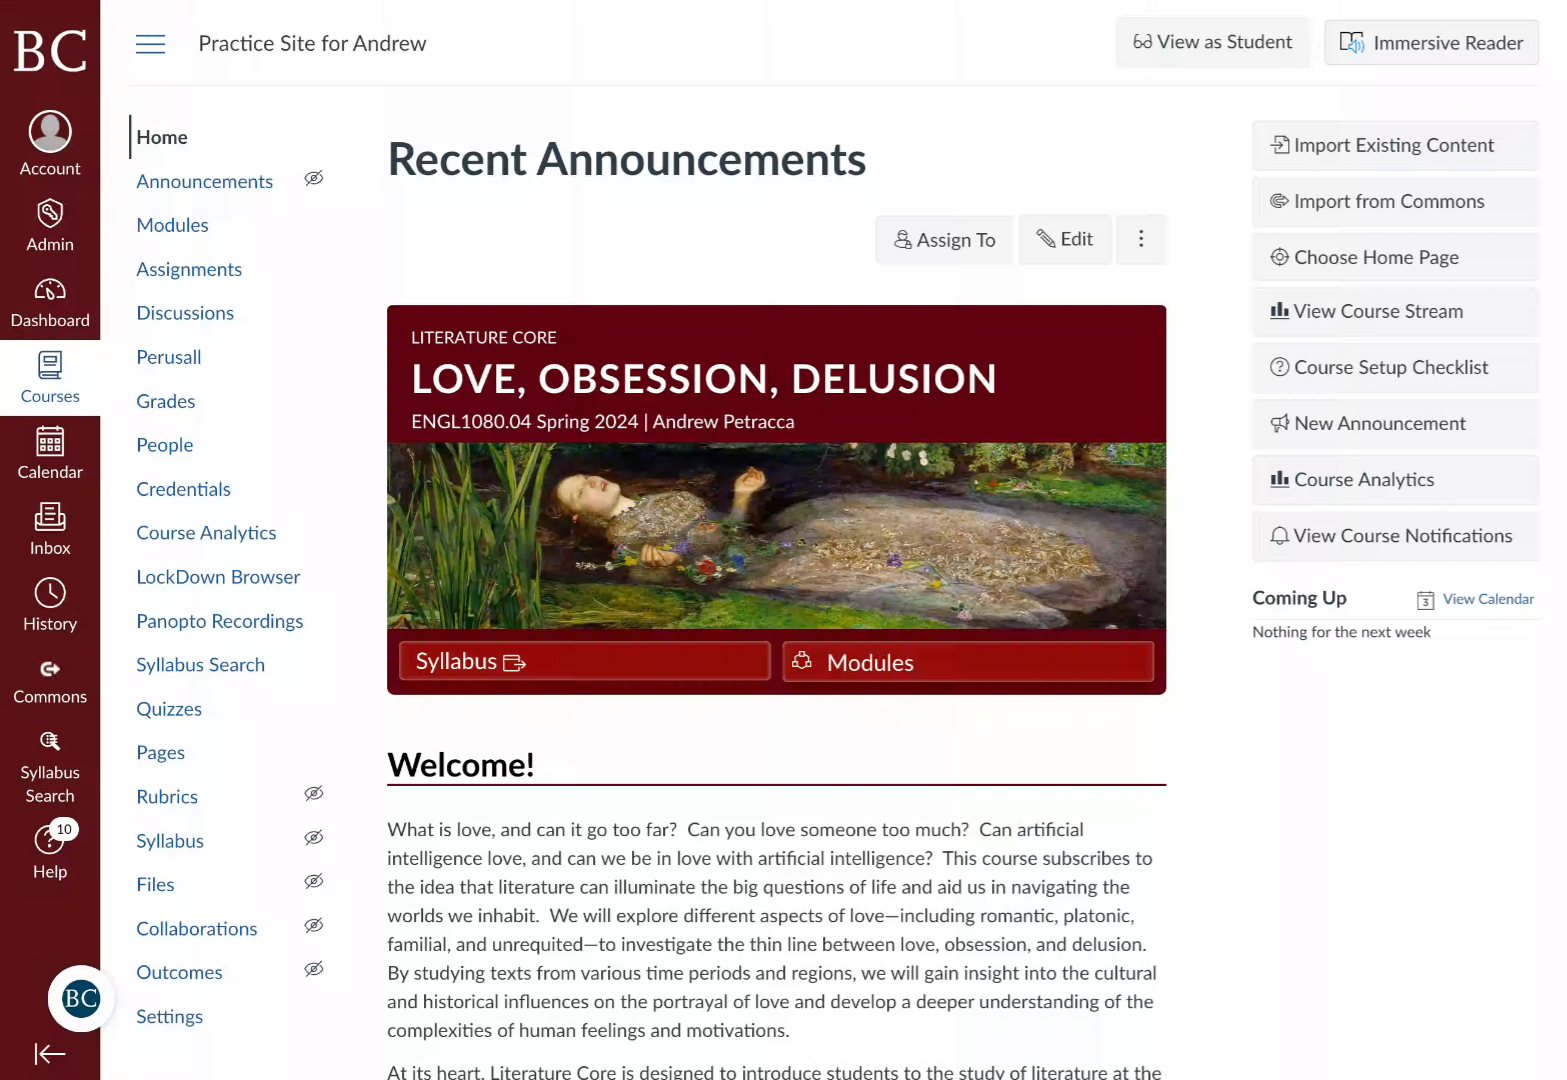
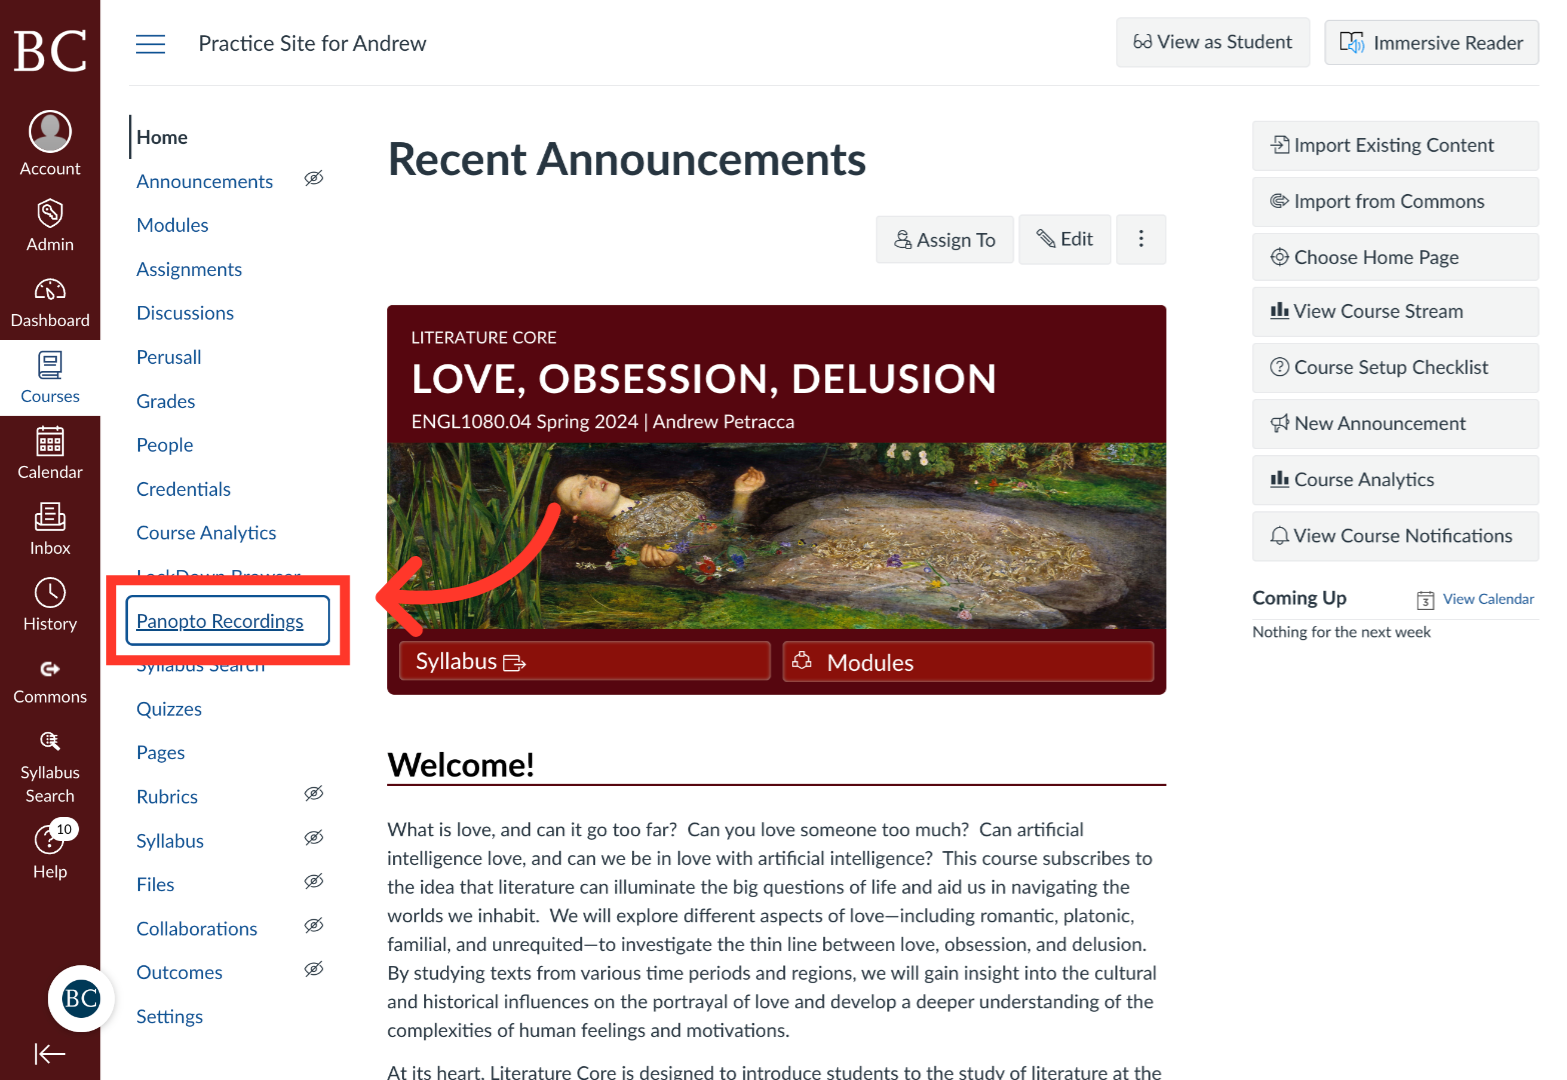
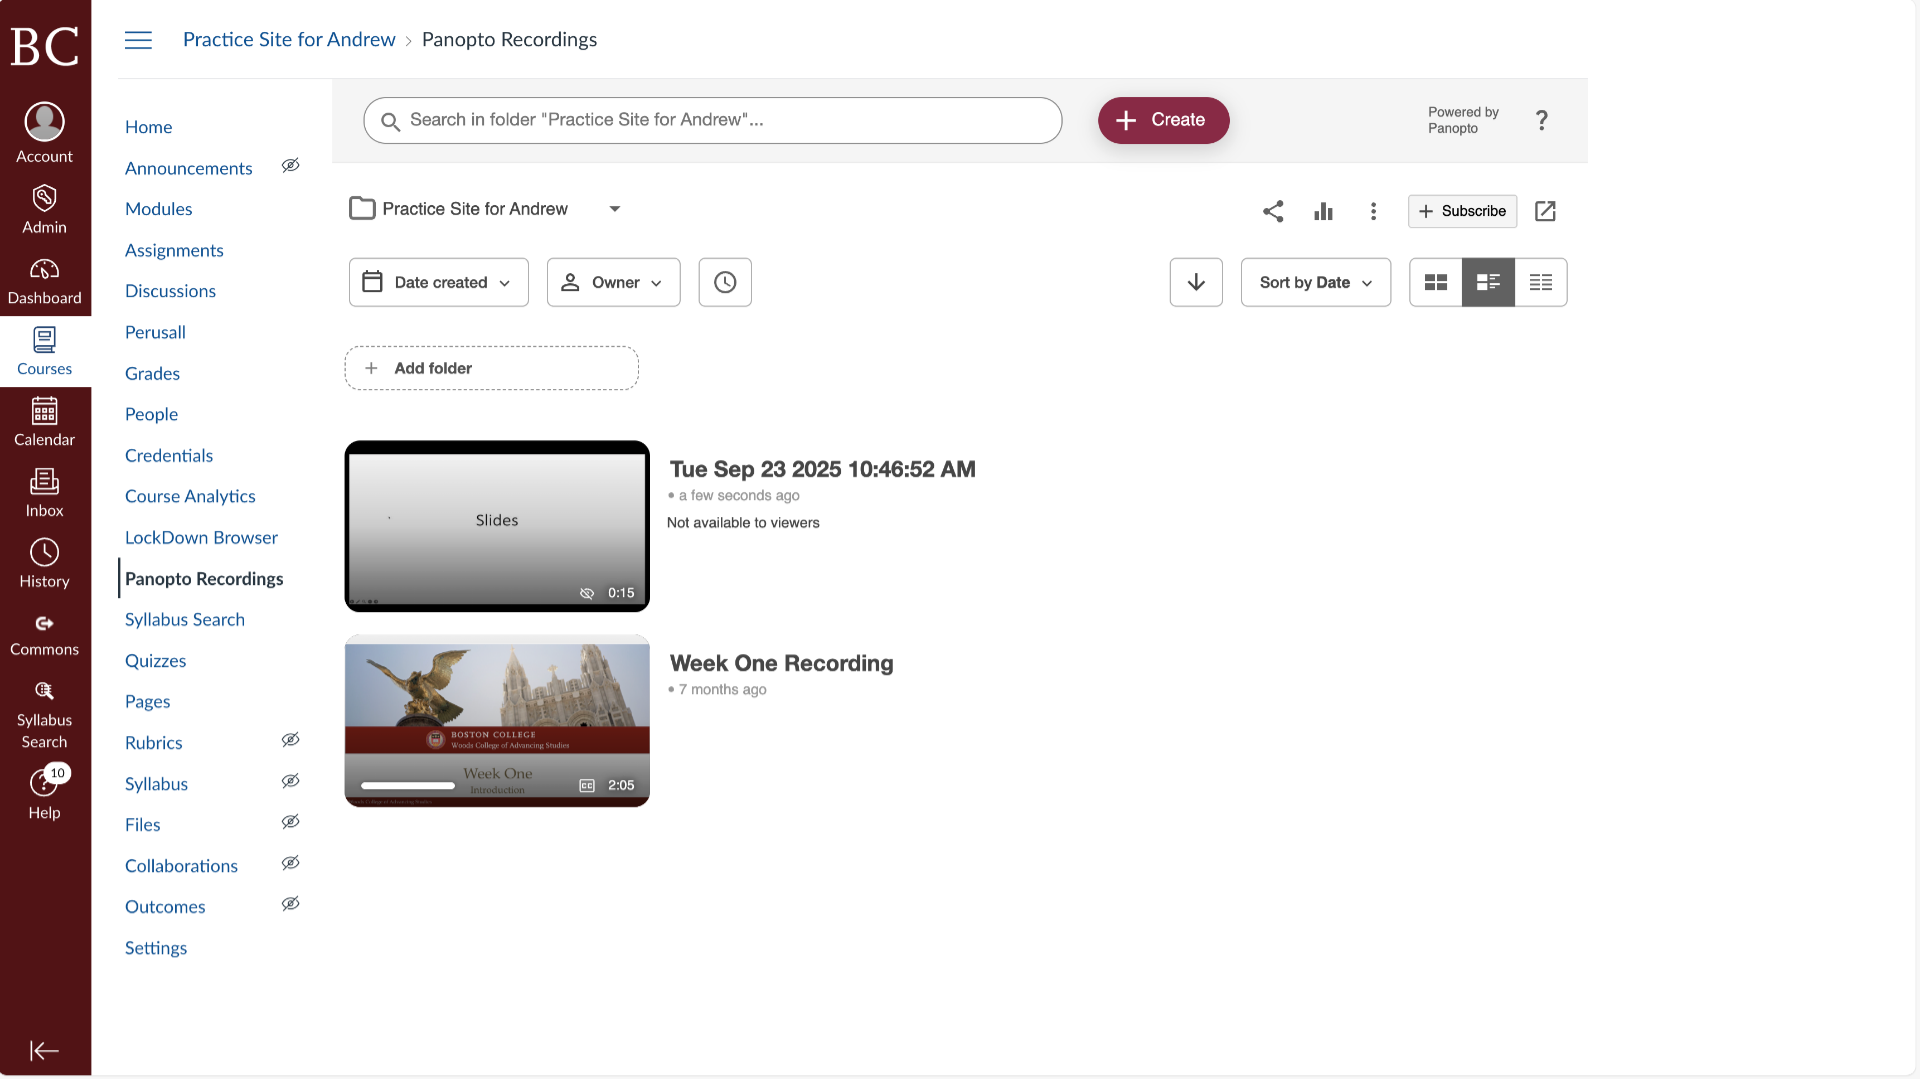
2. Click “Panopto Recordings”
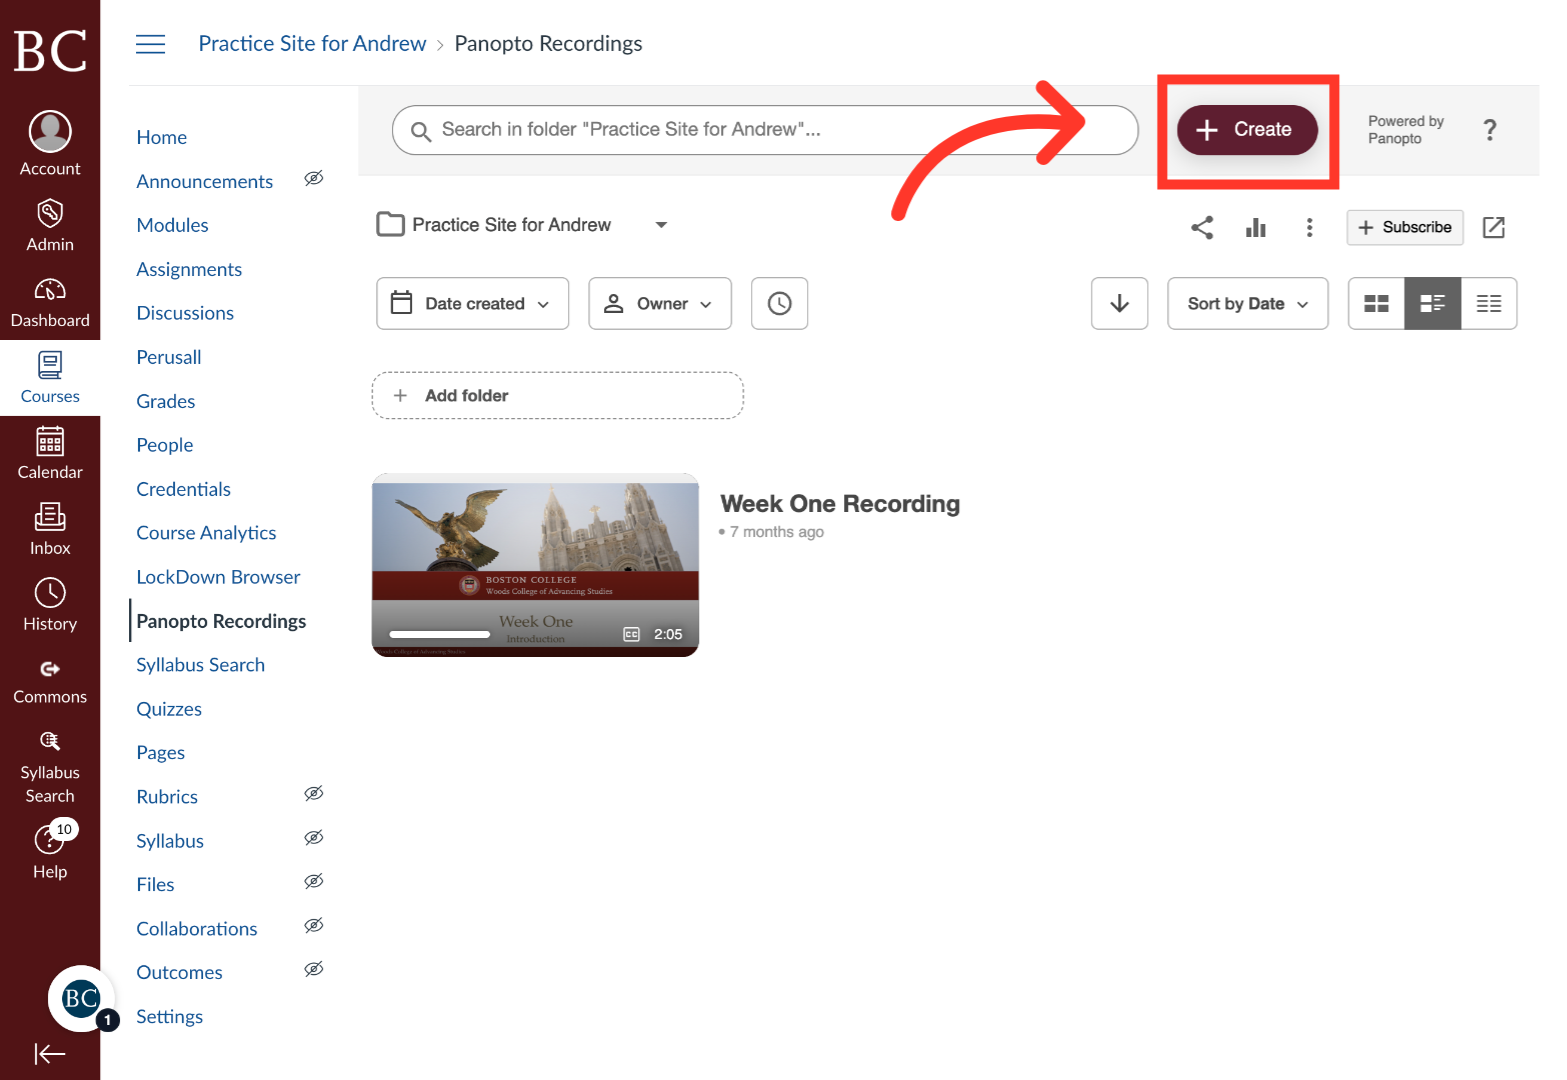
A screenshot of a Canvas course homepage, highlighting the “Panopto Recordings” link in the left sidebar. The page displays recent announcements and a literature course titled “Love, Obsession, Delusion.”.

3. Click “+Create”

A screenshot of the Panopto Recordings page in a learning management system, with a red arrow pointing to the Create button located at the top right of the page.

4. Select “Panopto Capture”

Screenshot of a university course site showing the Panopto Recordings page. A red arrow points to “Panopto Capture” in a dropdown menu, highlighting the option to record directly in the browser.

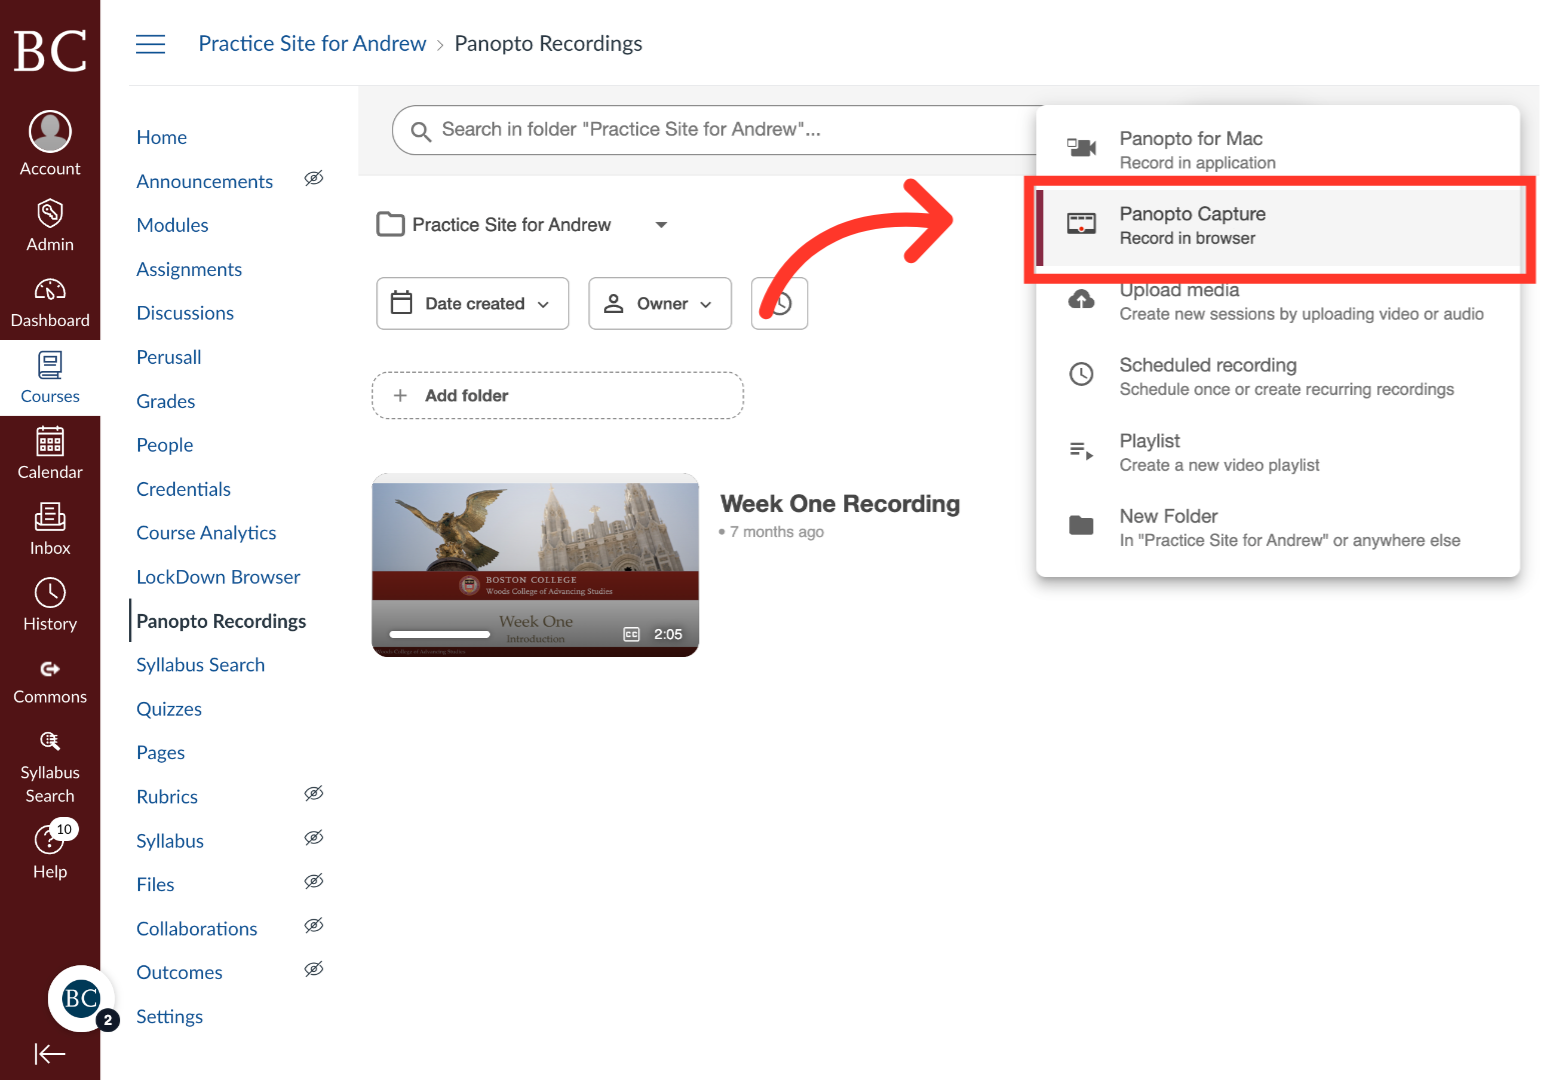
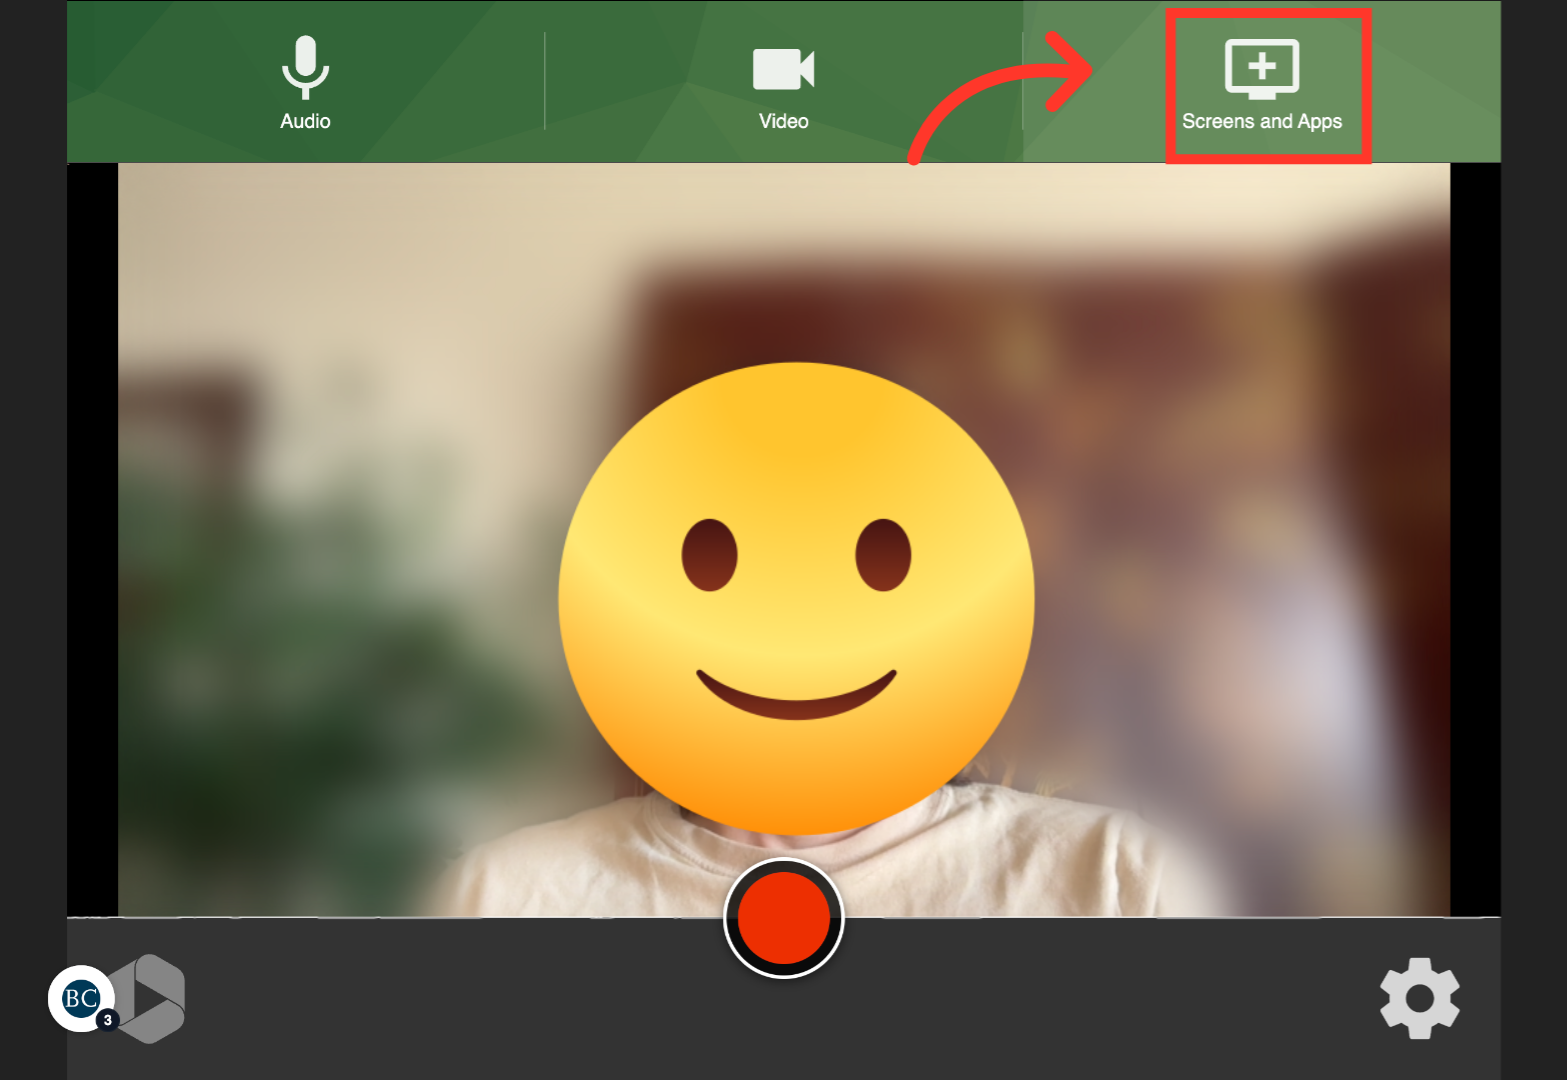
5. Click “Screens and Apps”

A new window will open

A video call interface with a large smiley face emoji covering the users face. A red box highlights the Screens and Apps button in the upper right corner, with a red arrow pointing to it.

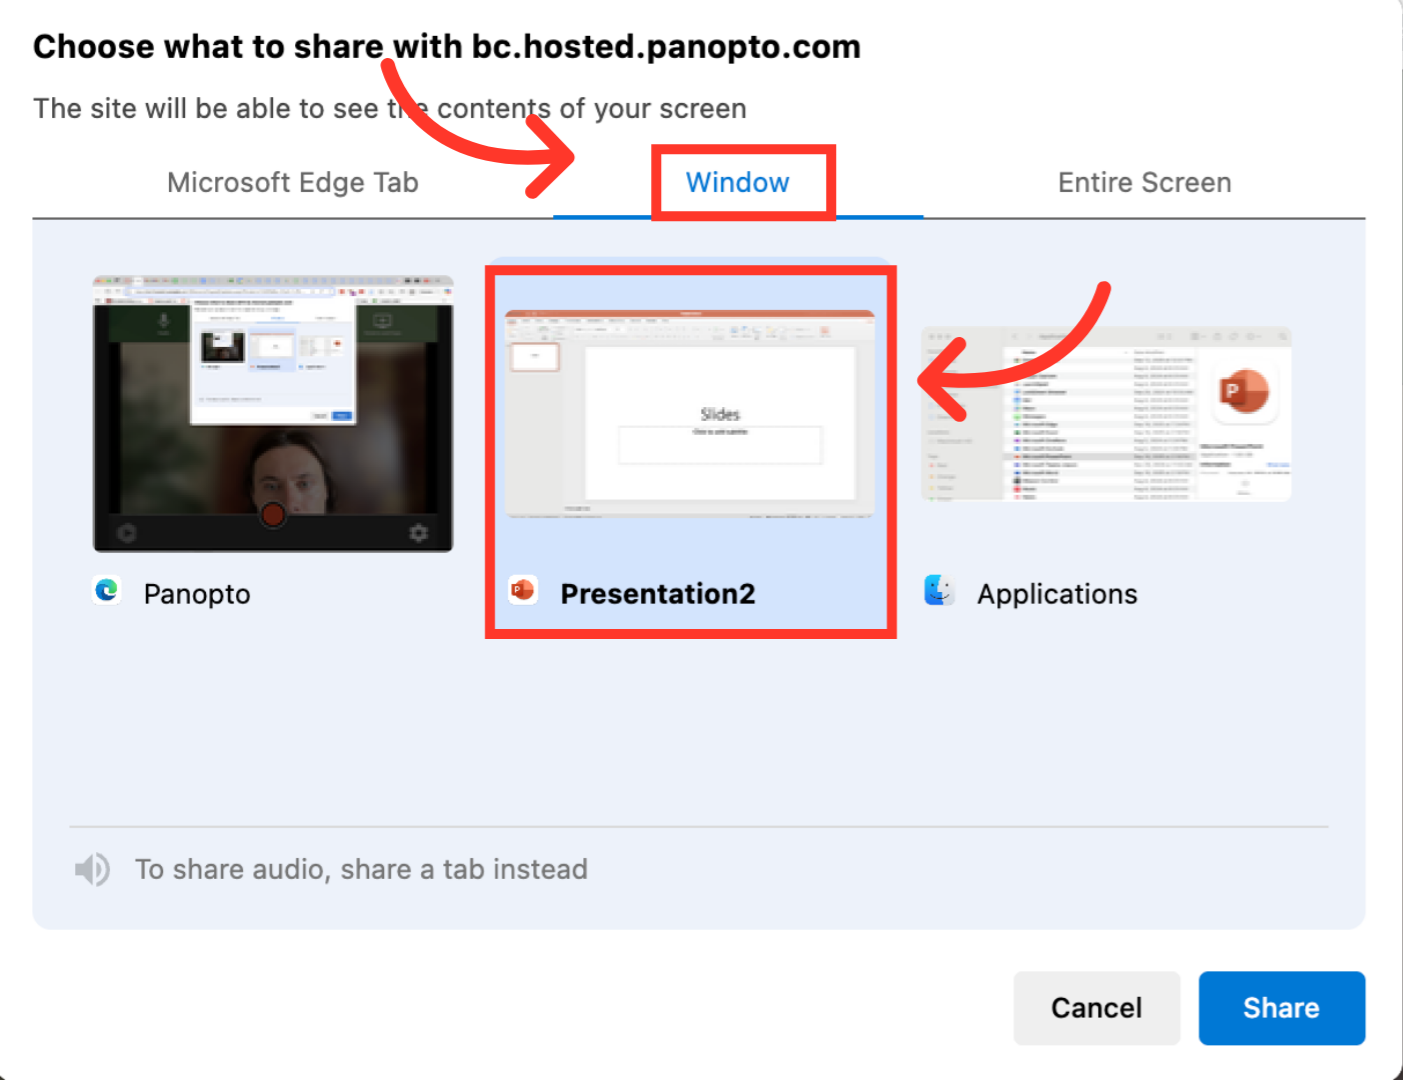
6. Click “Window” and select your presentation
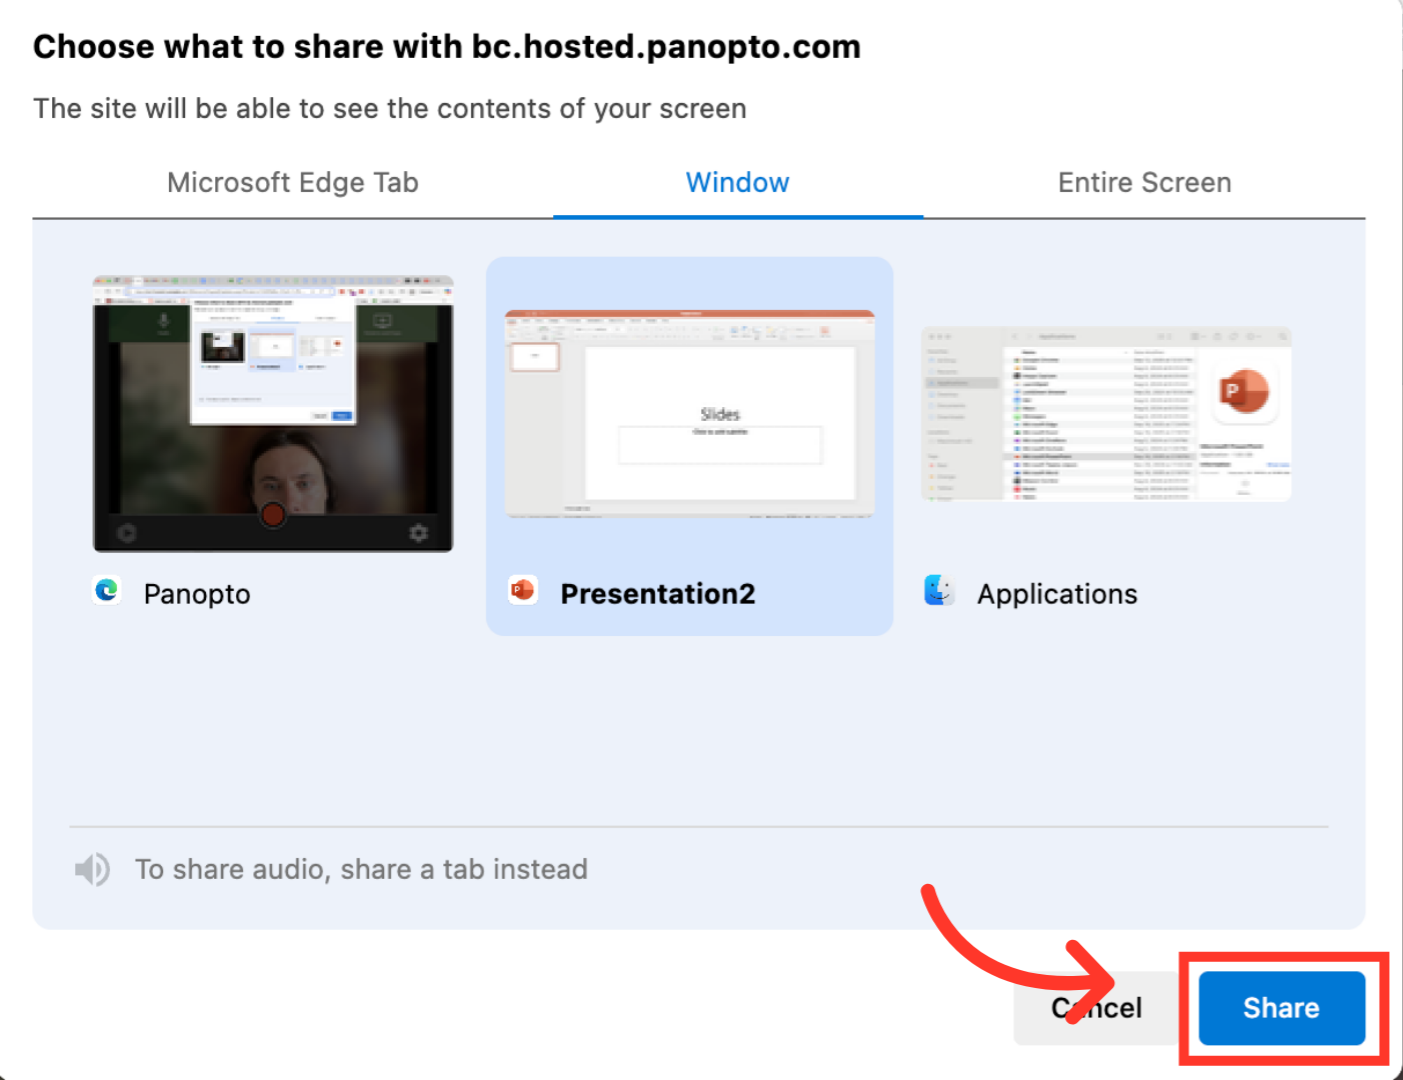
A screen shows a window selection menu for screen sharing, with the Window tab highlighted. The Presentation2 window is selected and outlined in red, with red arrows pointing to it and the tab.

7. Click “Share”

A screen shows a window selection for sharing on bc.hosted.panopto.com, with three options: Panopto, Presentation2, and Applications. A red arrow points to a blue Share button in the bottom right corner.

8. Click the record button

A screen shows a PowerPoint slide labeled Slides with a webcam overlay of a person whose face is covered by a smiley emoji. A red record button is highlighted with a red box and arrow at the bottom of the screen.

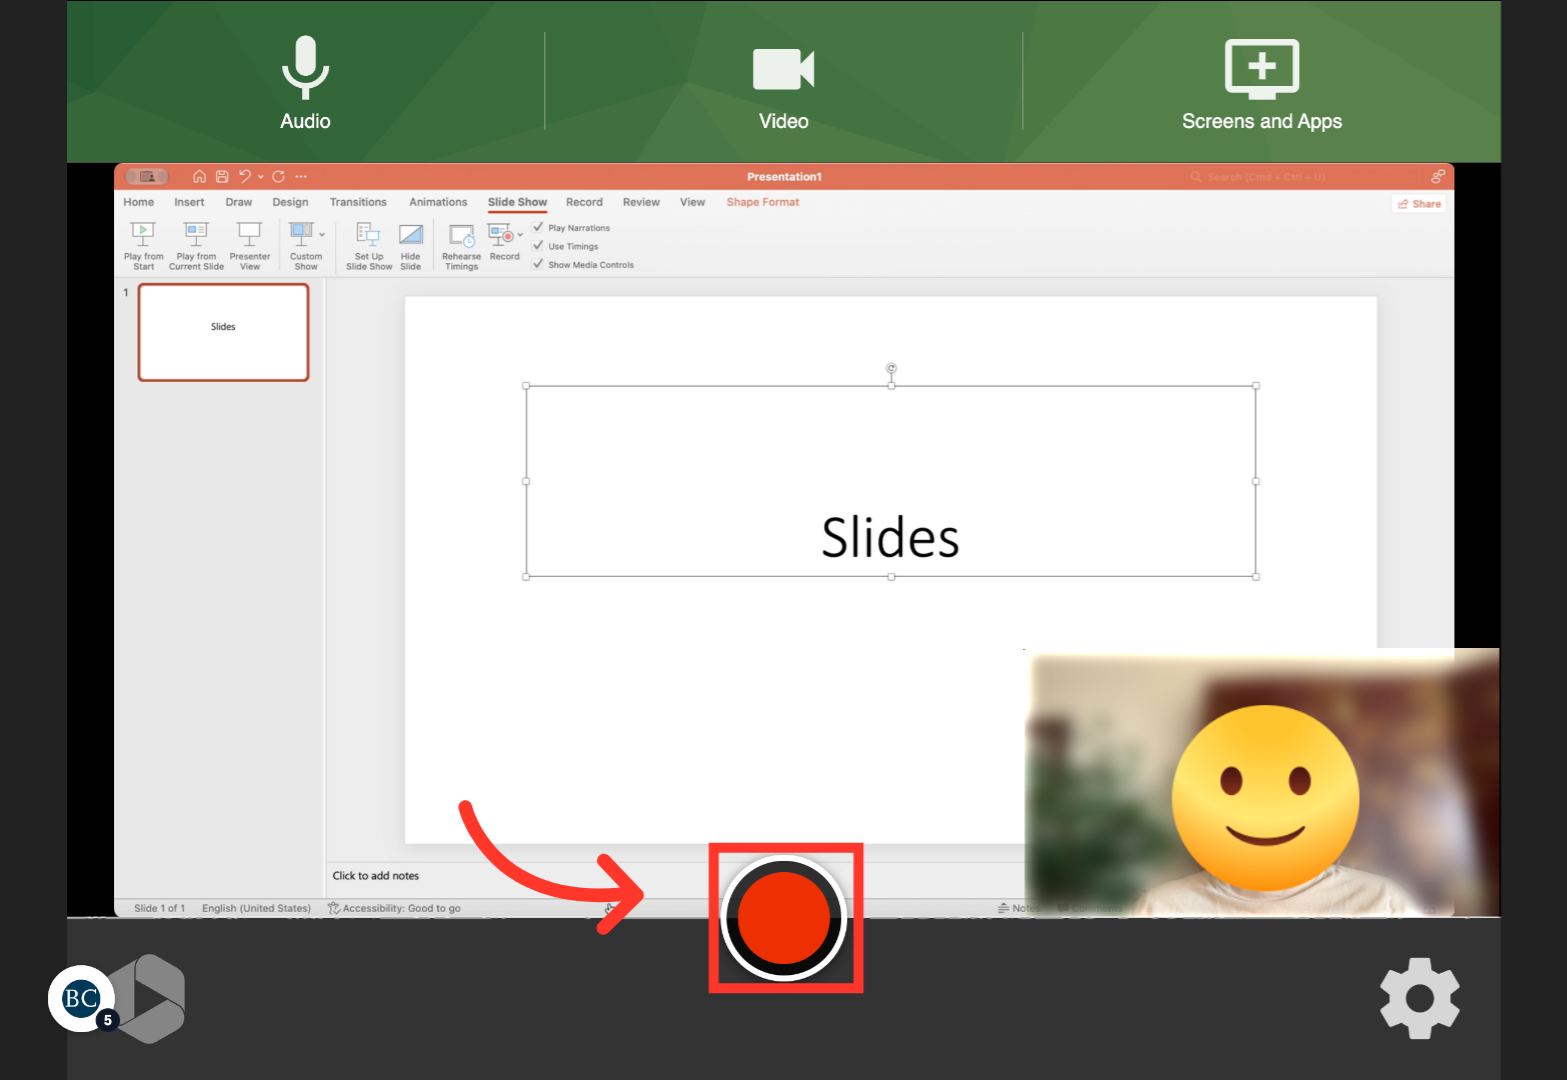
9. Navigate to your slideshow

Screenshot of a PowerPoint window showing a single slide with the word Slides centered on a blank white background. The left panel displays a thumbnail of the same slide. Menu and toolbar options are visible at the top.

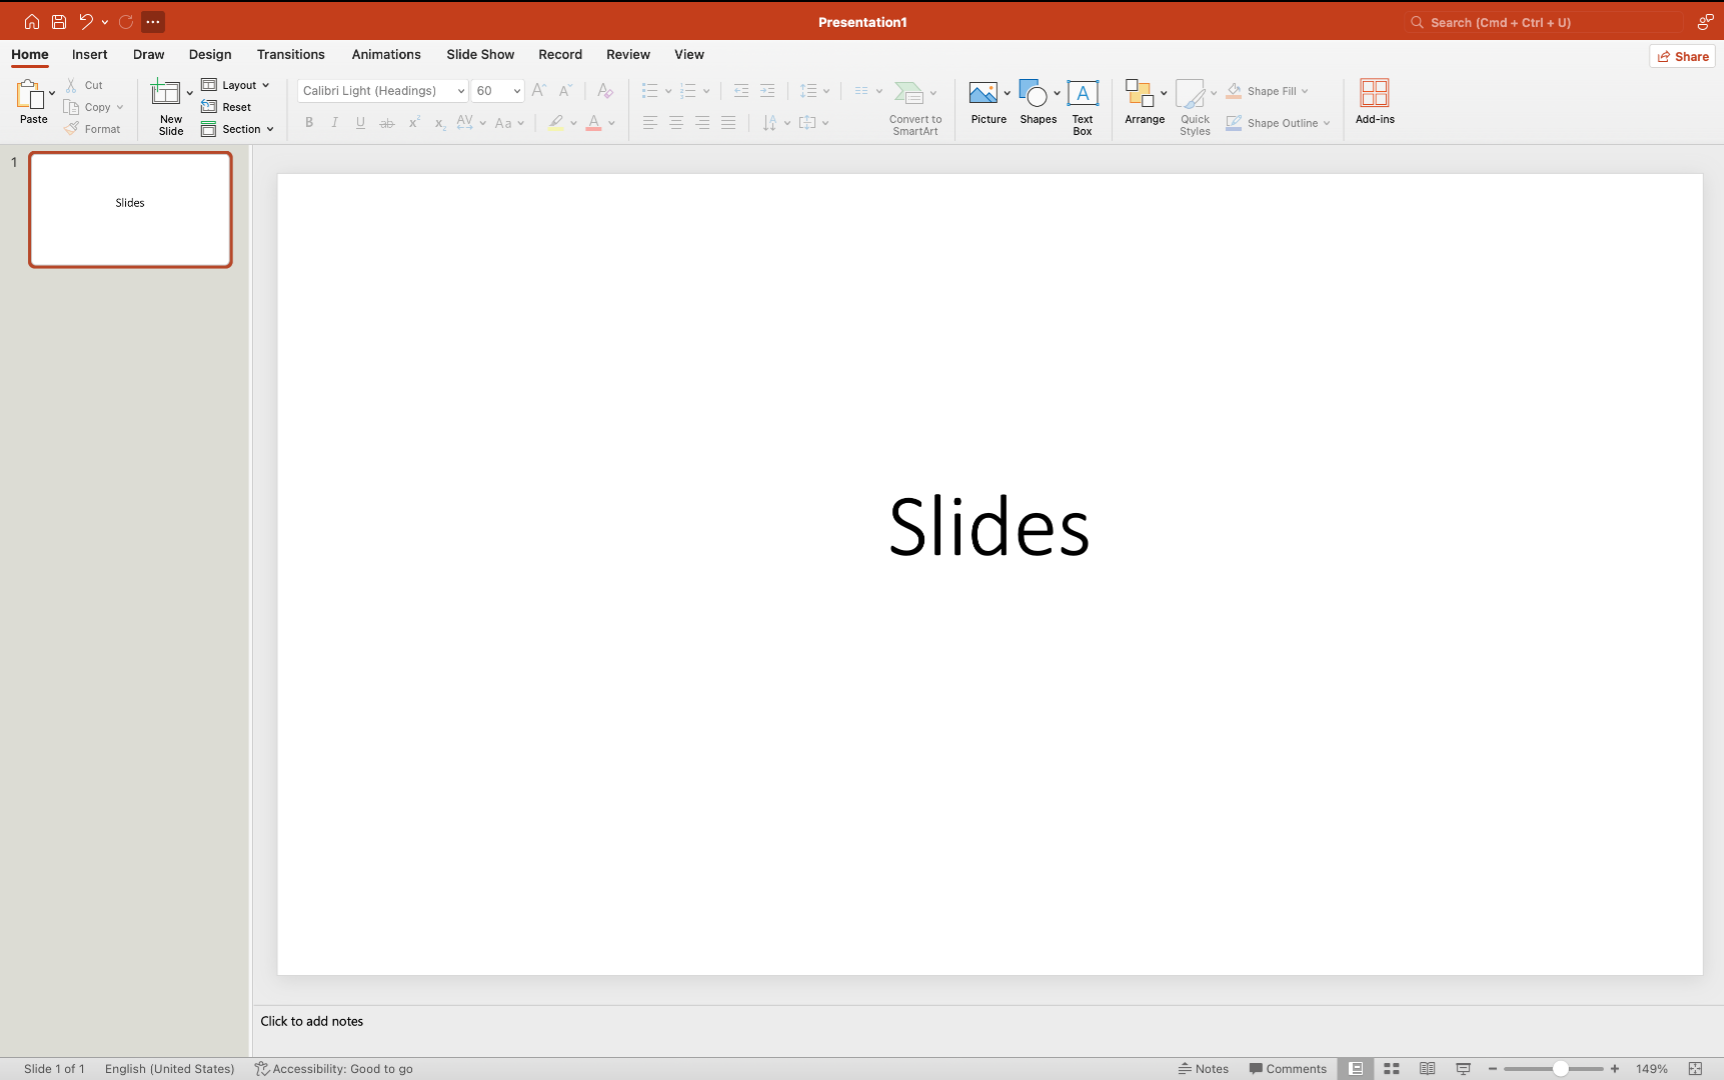
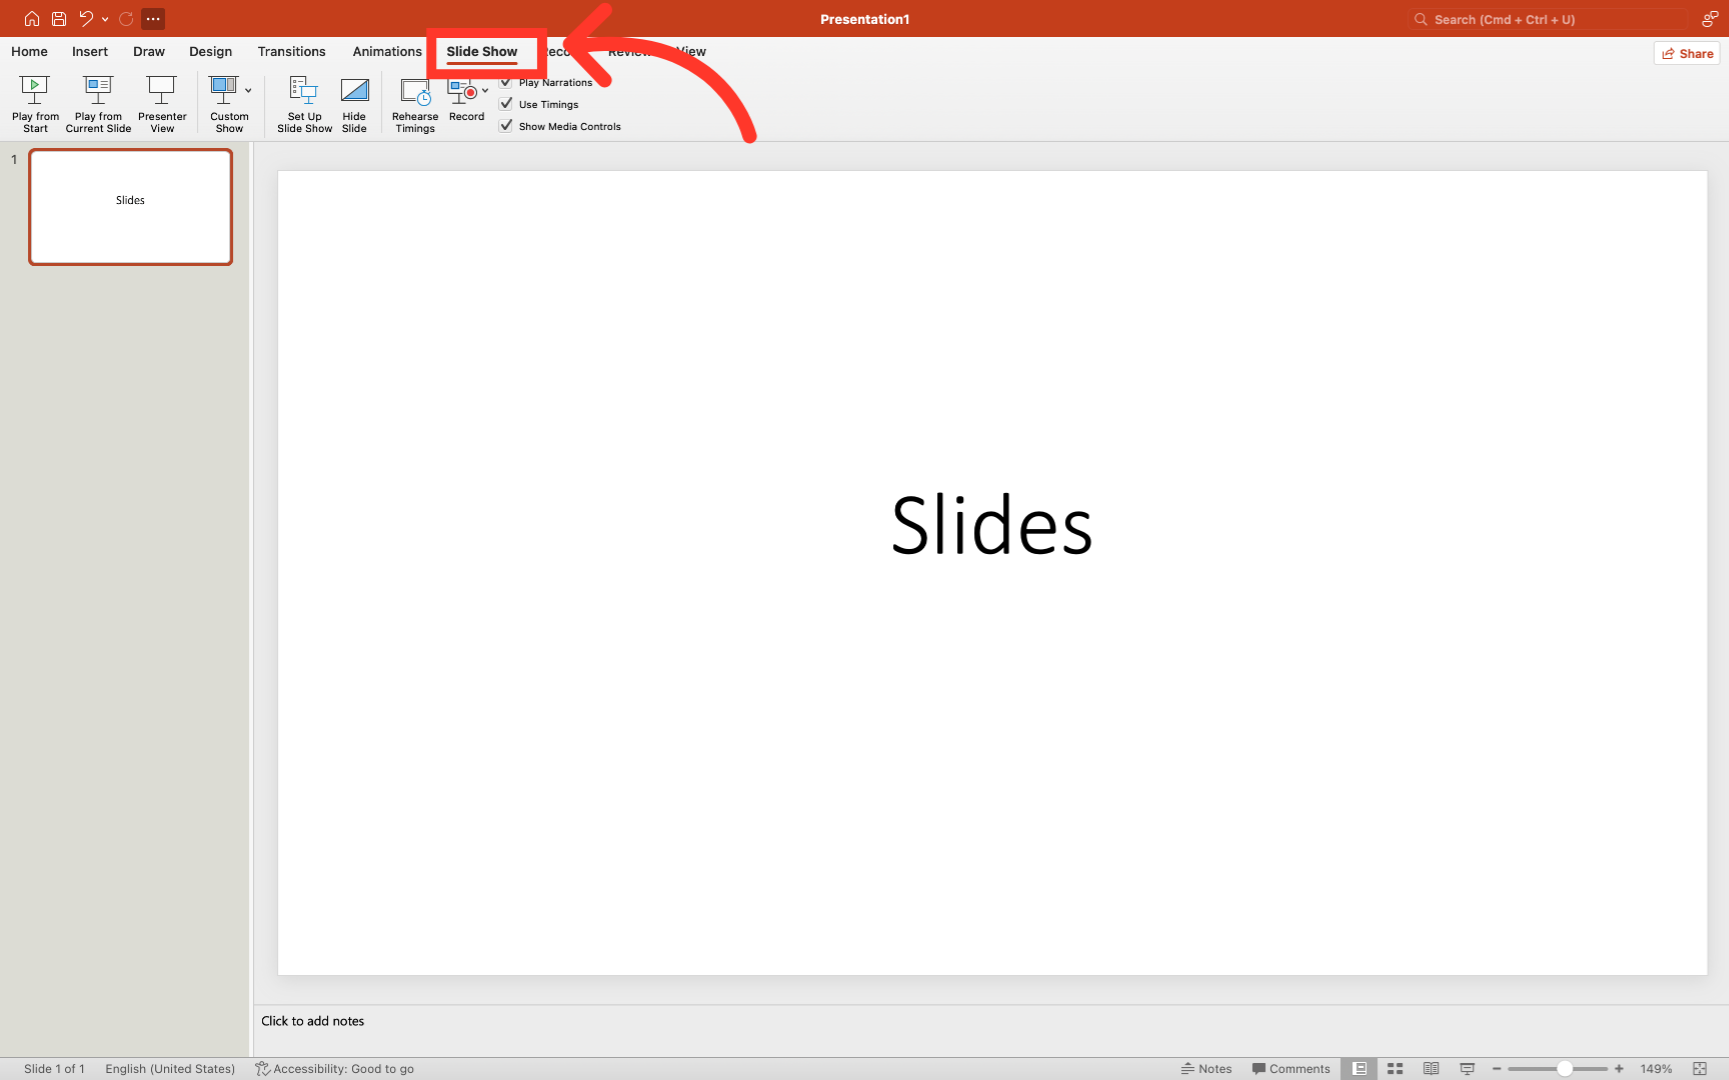
10. Click “Slide Show”

Screenshot of PowerPoint with a presentation slide titled Slides. A red arrow points to the Slide Show tab in the main menu at the top of the screen.

11. Begin to deliver your slides

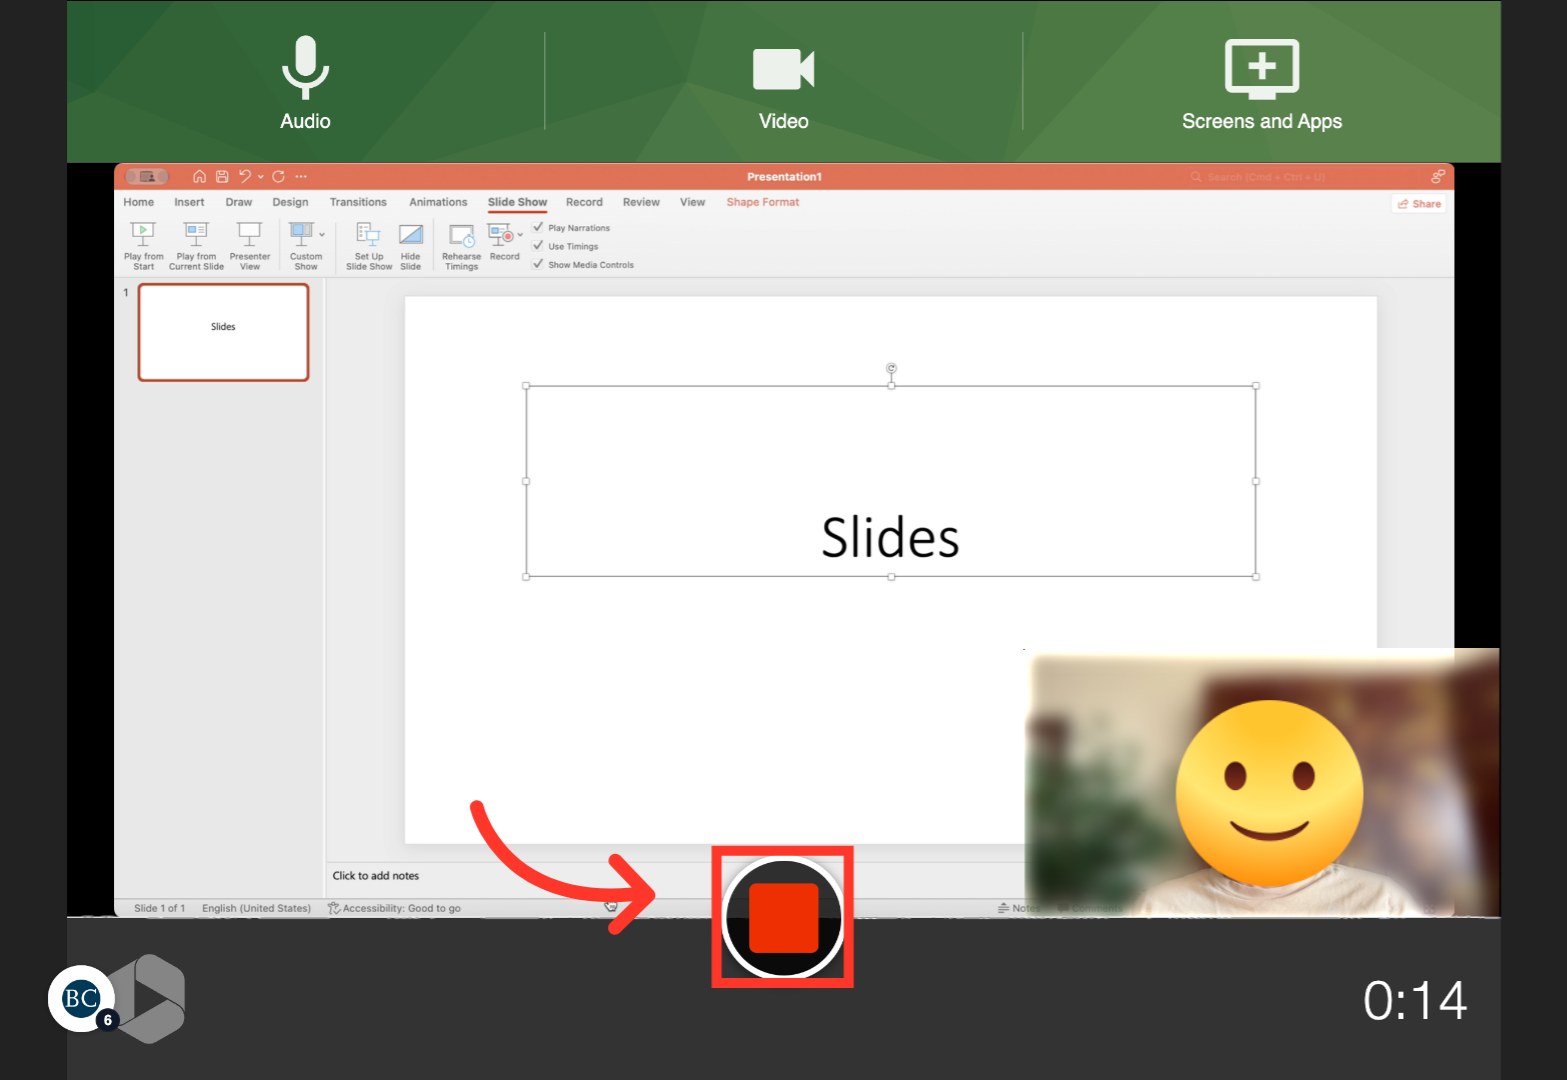
Panopto should record the slides as well as your video and audio.

A presentation slide with a white background and the word Slides centered in black text. Black borders are at the top and bottom. Presentation controls are visible in the bottom left corner.

12. Navigate back to Panopto and press the stop button

A PowerPoint slide labeled Slides is displayed on a computer screen. An arrow points to a red stop button, and a person with a smiley face emoji covering their face appears in a small video window.

13. A new window will open, close this window

Your recording will save automatically

Screenshot of a video editing interface showing a video playback area, sharing options, and controls. A screen-sharing notification is visible at the bottom, and the video title is Practice Site for Andrew.

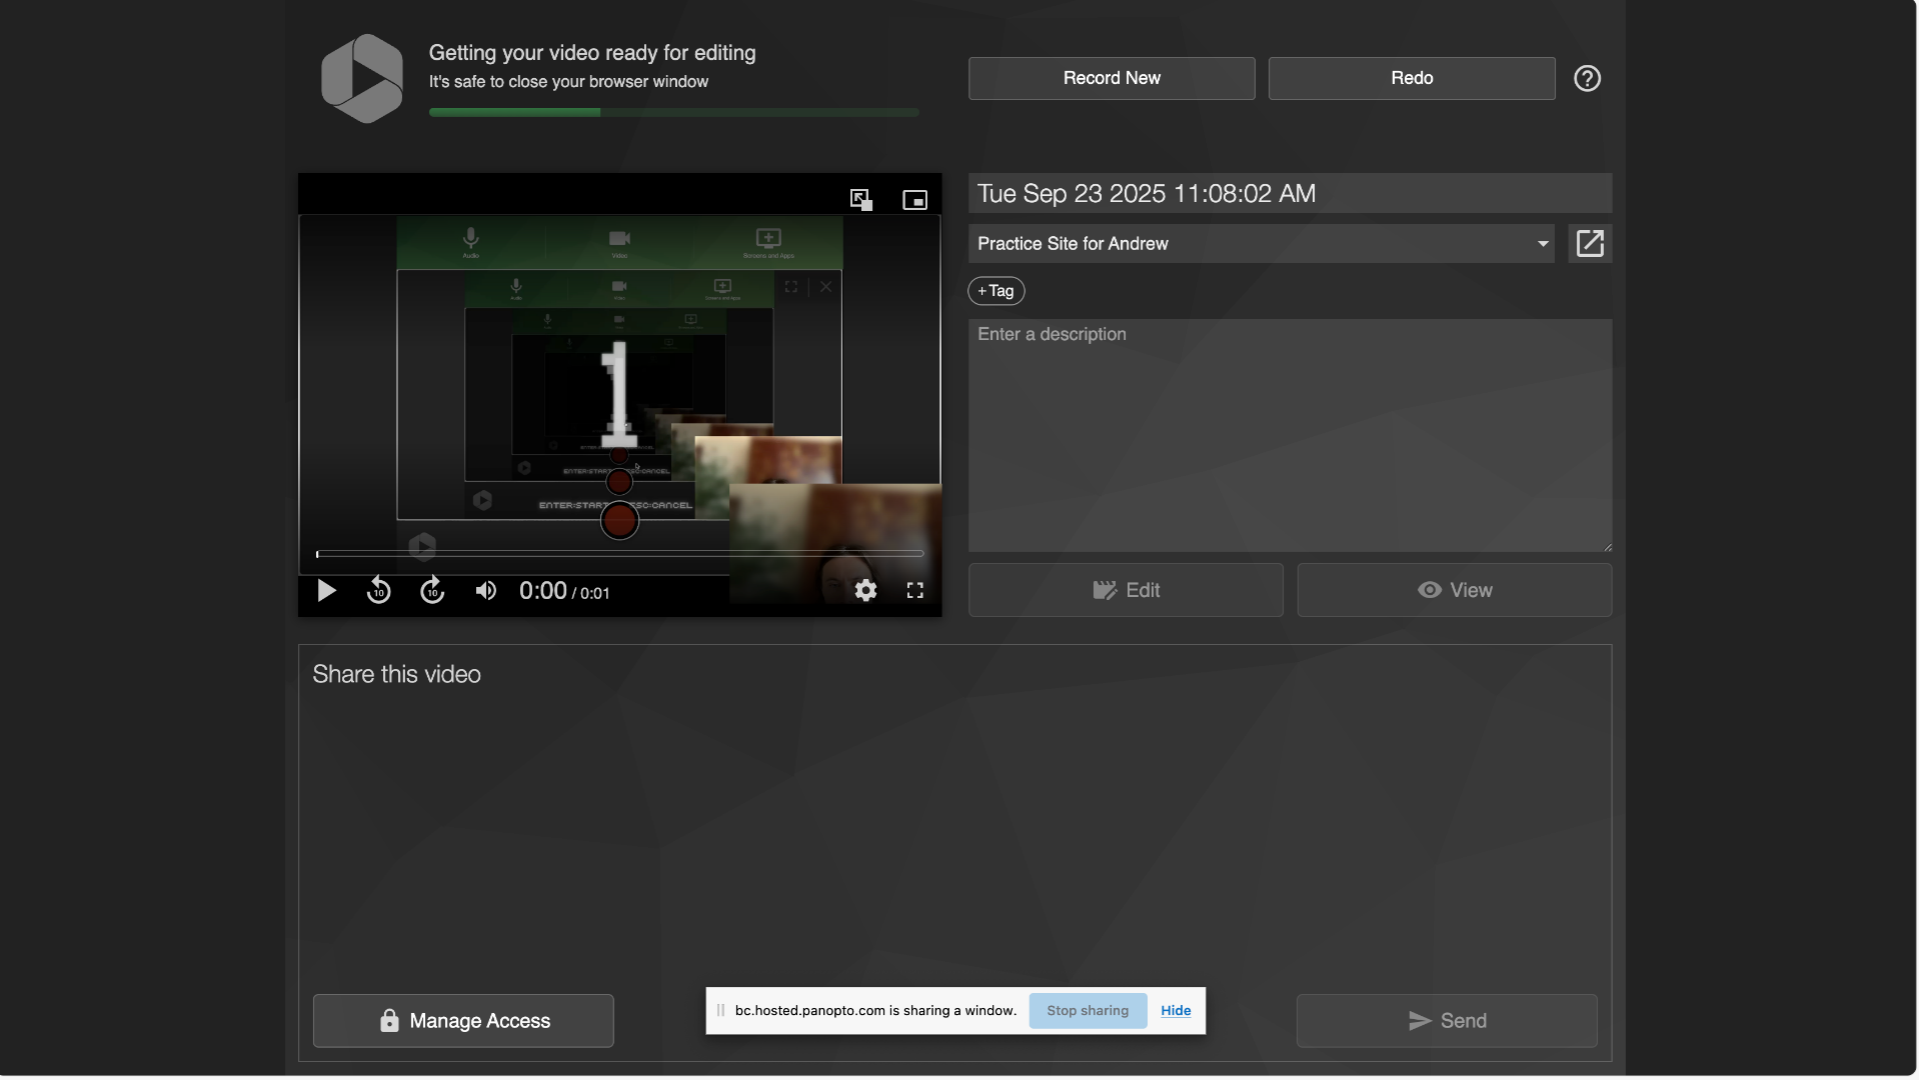
14. Navigate to Panopto to review your recording

Your recording will be saved in the Panopto Recordings tab of your Canvas site

Screenshot of a Panopto Recordings page in a learning management system, showing a folder named Practice Site for Andrew with two video recordings: Slides and Week One Recording, listed with thumbnails and controls.

Please add a description

Last Updated