Adding a Thumbnail Image in Panopto

You can add a thumbnail image to a Panopto recording to make it easier to identify.

Video Walkthrough

Step-by-Step Instructions

1. Open the Canvas site in which the recording is saved

Screenshot of a course page titled Practice Site for Andrew on Canvas showing recent announcements, a course summary with exam and quiz dates, a sidebar with navigation links, and a calendar for May 2023.

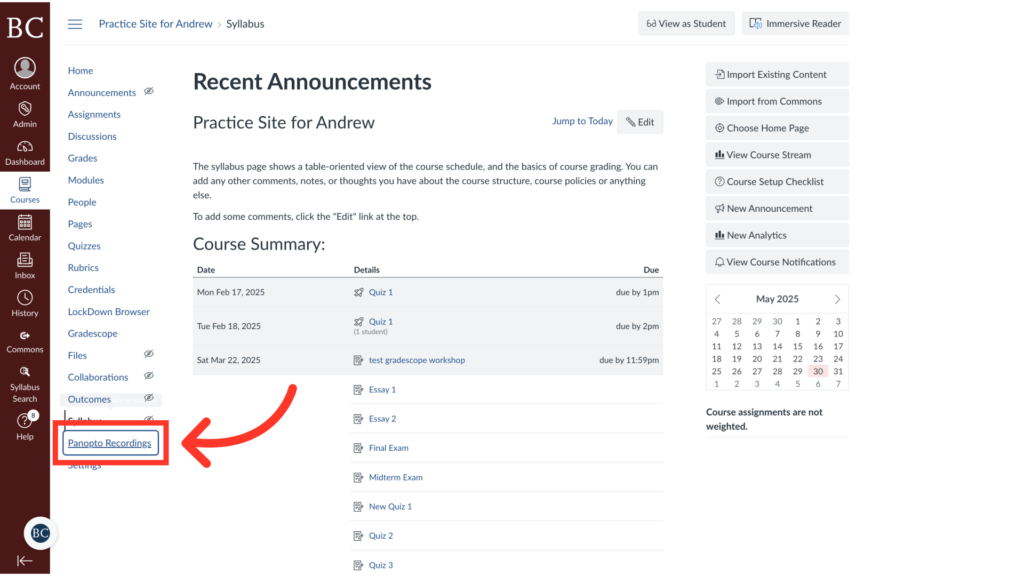
2. Click “Panopto Recordings” on the course navigation menu

A screenshot of a course website showing the “Syllabus” page. A red arrow points to the “Panopto Recordings” link in the left sidebar navigation menu. The main content displays a list of assignments and quizzes.

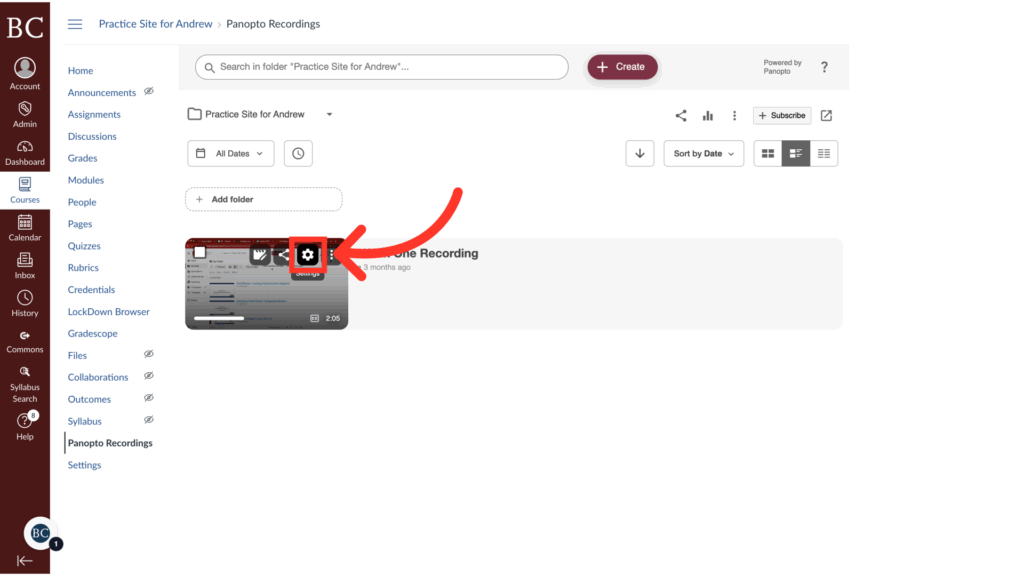
3. Click the settings icon

Screenshot of a learning management system with an arrow pointing to the Share icon on a Panopto video recording thumbnail under the Practice Site for Andrew folder.

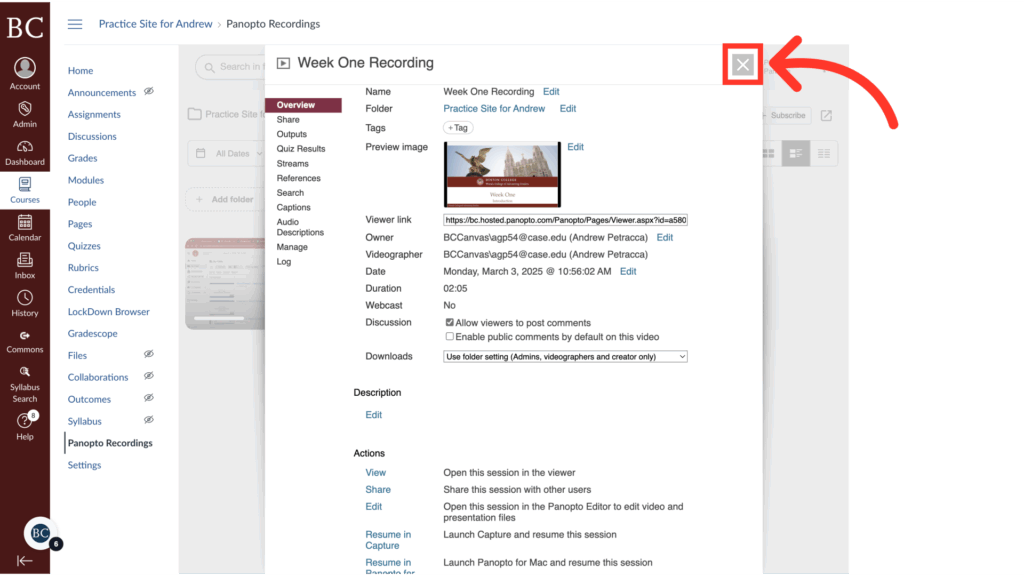
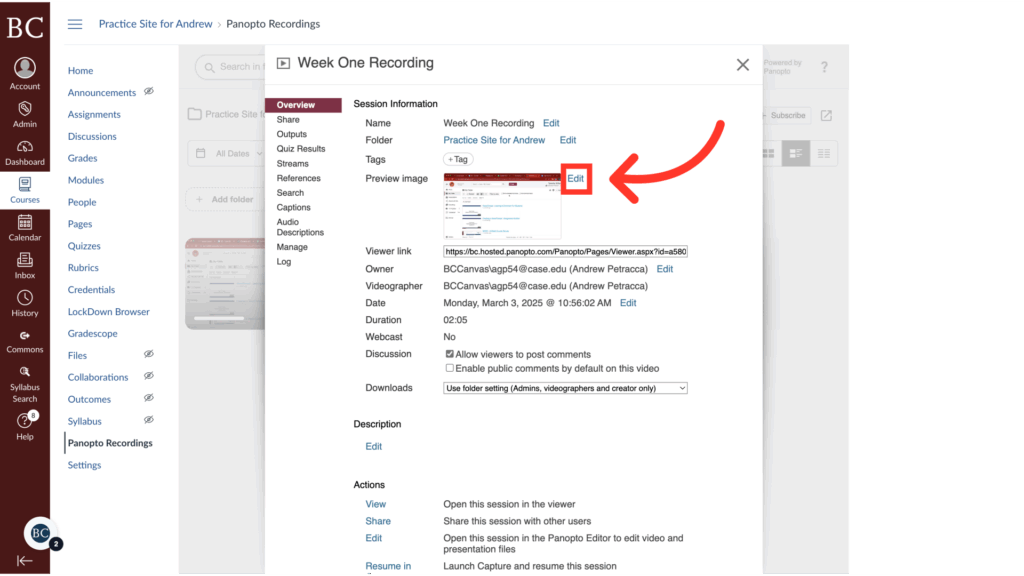
4. Click “Edit” next to “Preview image”

A screenshot shows a Panopto session details window titled Week One Recording, displaying video information. A large red arrow points to the Preview Image thumbnail in the center of the window.

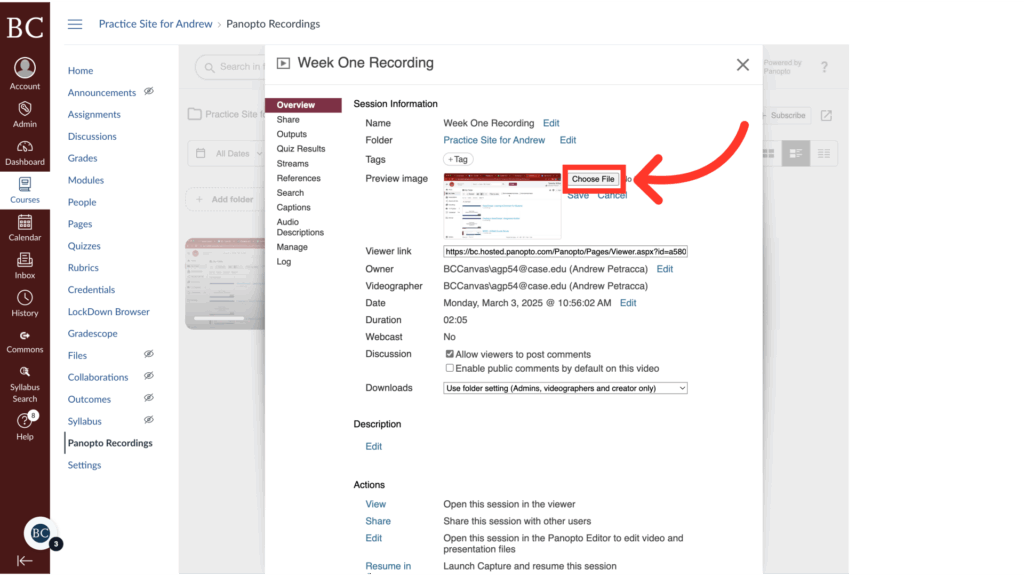
5. Click “Choose File”

A screenshot of a “Session Information” window shows details for “Week One Recording.” A red arrow points to a highlighted “Choose File” button next to a preview image upload option on the right side.

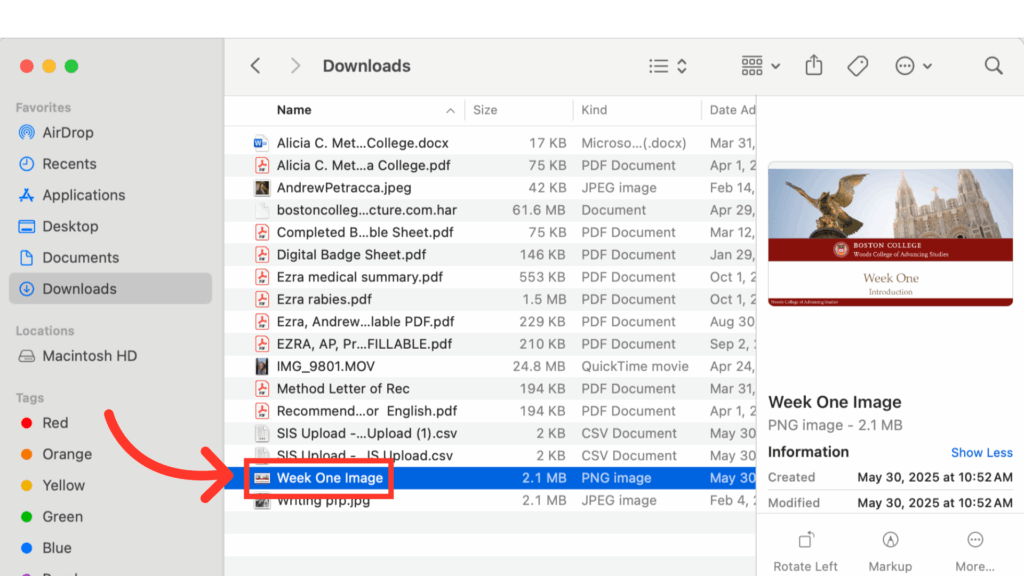
6. Select the file you would like to upload
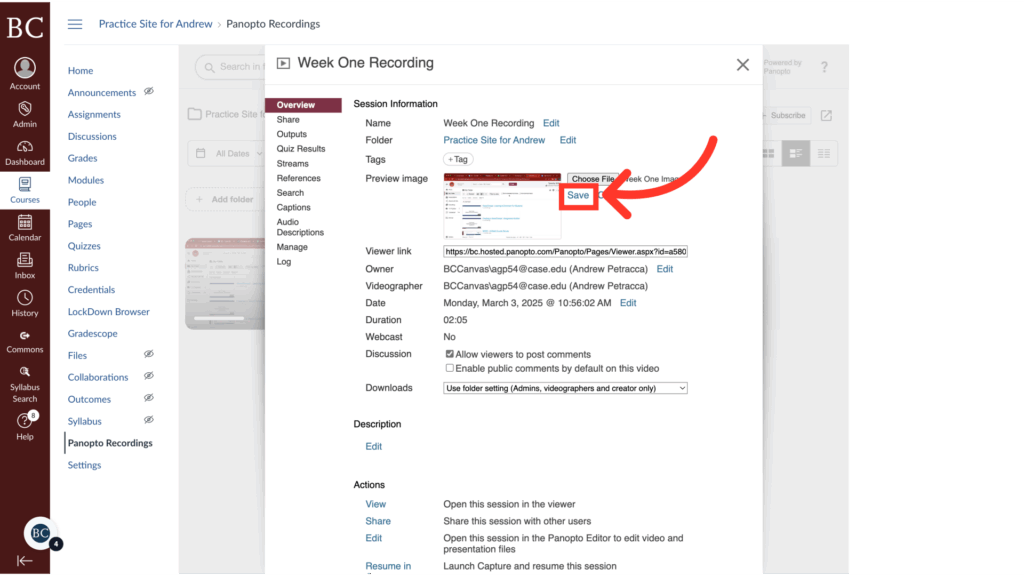
A computer screen shows the Downloads folder with a file named Week One Image highlighted. An arrow points to the file, and its preview with details is displayed on the right side of the window.

7. Click “Save”

A computer screen shows a video management interface. A red arrow points to a Save button above a video thumbnail in the Week One Recording settings window, highlighting where to click to save changes.

8. Close the settings

A webpage showing a Week One Recording details window with an X icon at the top right, highlighted by a large red arrow, indicating where to close the window.

Last Updated