In most cases, it’s easiest to apply a theme using a template. This way you get other relevant page elements in addition to the theme, since they often go together.
Most programs/schools will have home page and module templates available. If you’re not able to find a relevant template, please contact CDIL for assistance.
Note: If you don’t see the DesignPLUS sidebar in your Canvas page, use the keyboard shortcut Command + 1 to enable it. See the Enabling DesignPLUS page for more details.
Video Walkthrough
Step-by-Step Instructions
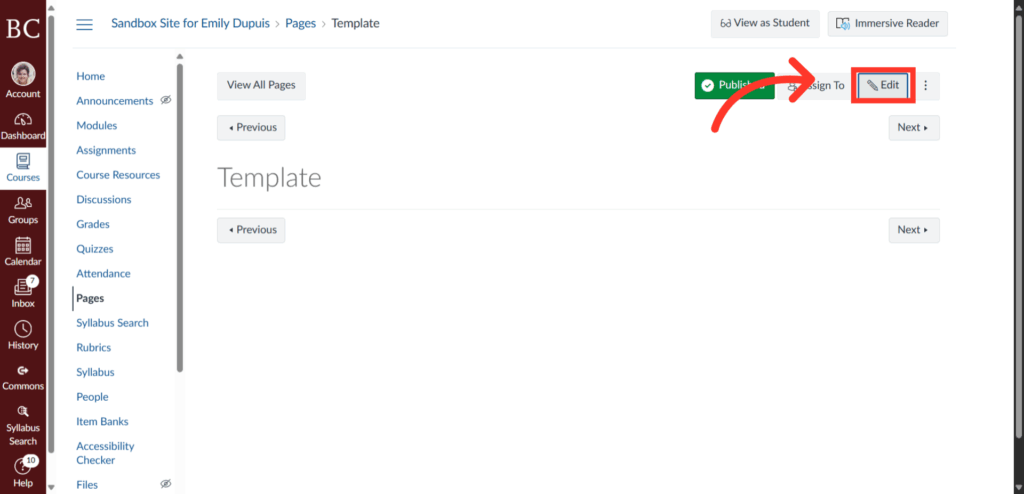
1. Click Edit Button
To begin, click the “Edit” button in the top right corner of your Canvas site.
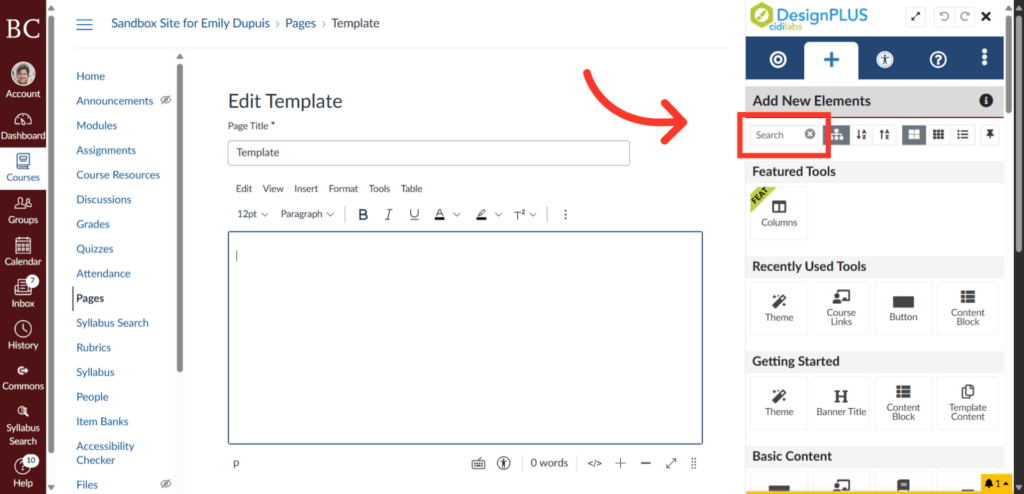
2. Find the “Template Content” Button
Use the indicated search button and type in “Template Content” to locate the element. Once you see the button, click it to show its editing options.
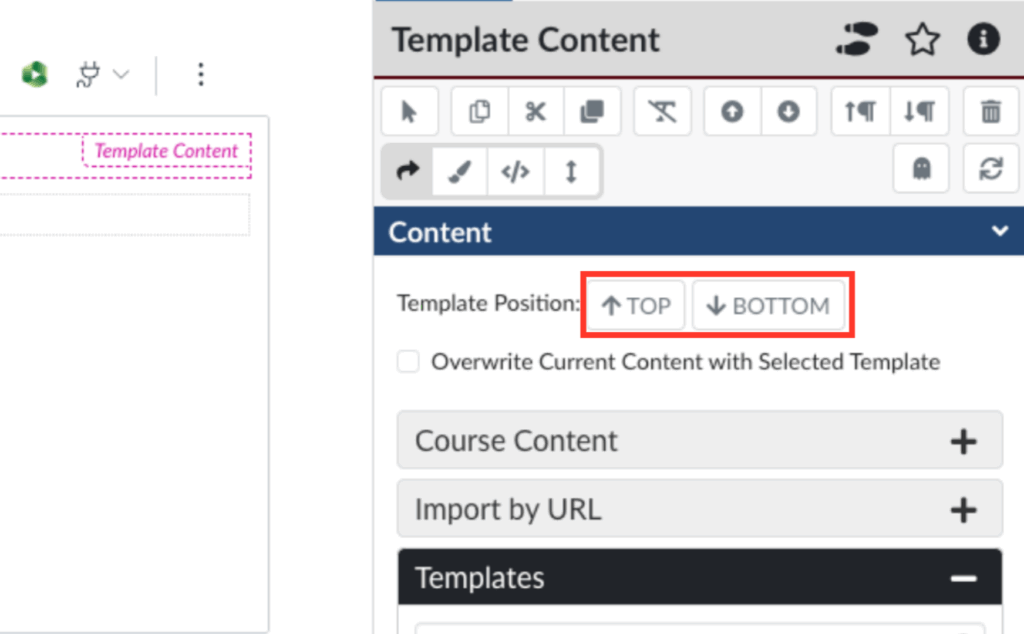
3. Decide Whether to Override Existing Content
If you’d like to replace the content on the page with a template, check the box next to “Overwrite Current Content with Selected Template.”
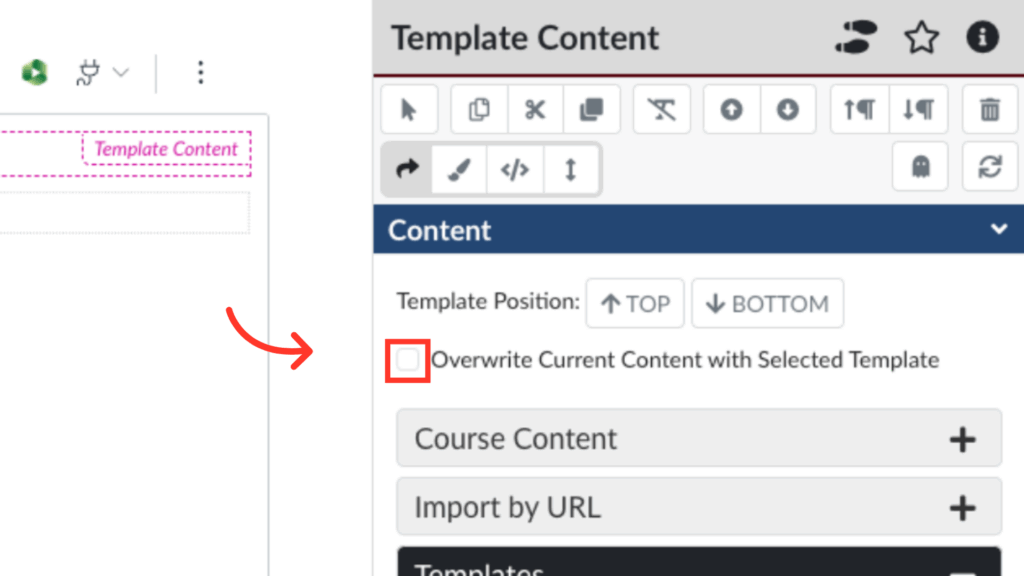
4. Or Place the Template Above or Below Current Content
If not, click either the “Top” or “Bottom” button to position the new content above or below your existing content.
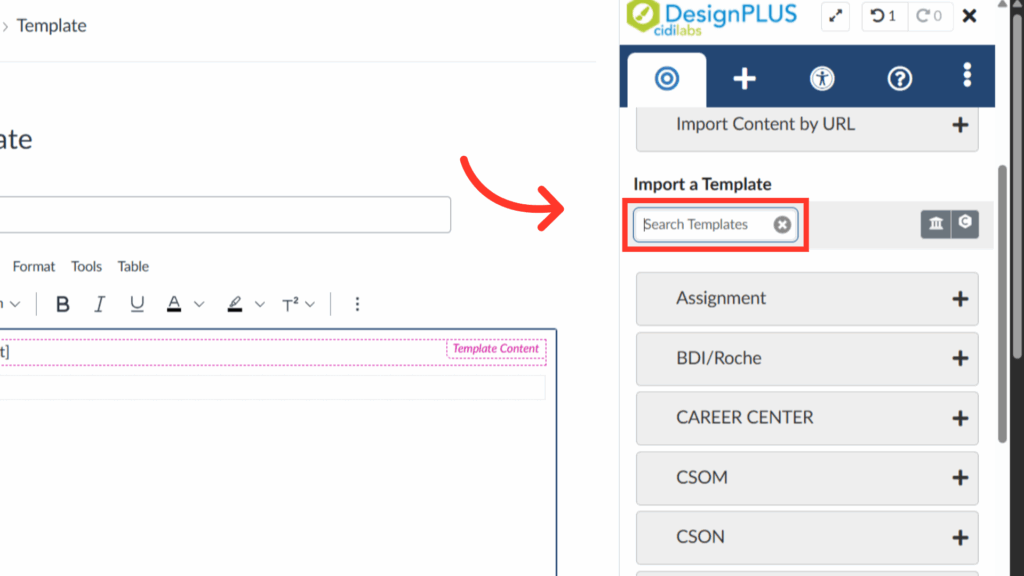
5. Find the Relevant Template
If you already know the template you wish to use, you can search for it in the indicated bar. Otherwise, you can browse the template menu.
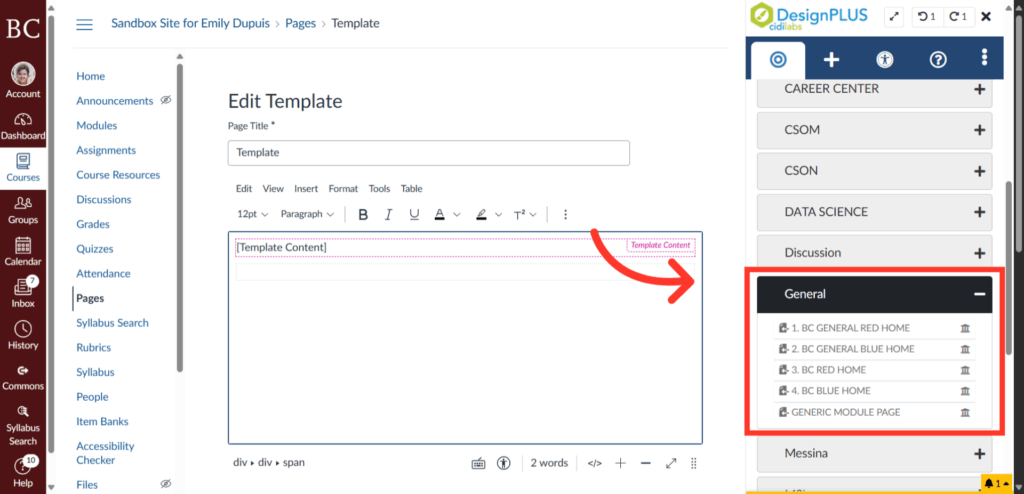
6. Browse the Template List
If you would like to view the various options for themed templates, you can scroll through the indicated menu. Templates are categorized by school and/or page type.

7. Select a Relevant Category
Depending on your needs, open the folder for the relevant category of themed templates. For this example, we will be adding a BC General Red homepage. Note that home pages and module pages are formatted differently, so it is important to make sure the selected template matches the page type you are creating.
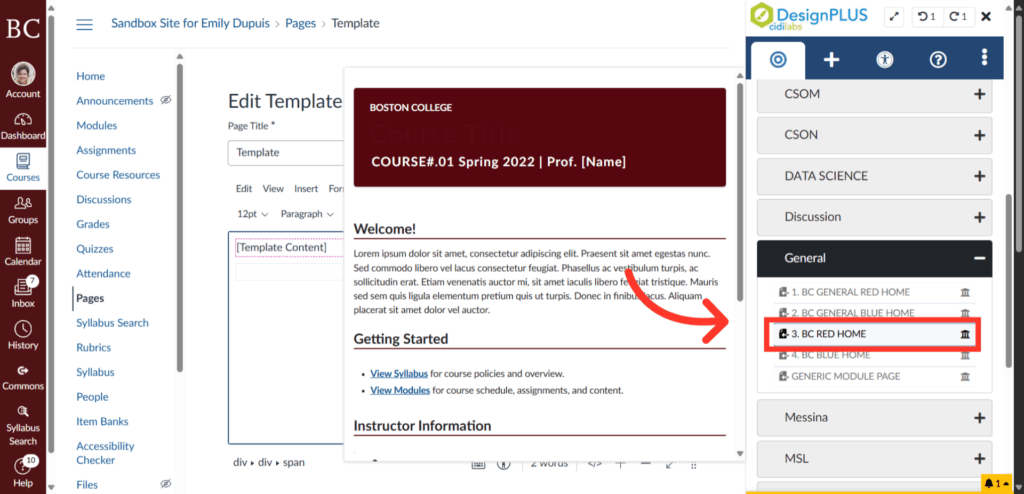
8. Click on the Relevant Template
Click on the themed template you wish to apply. When you hover your cursor over the text of the template, you will see a preview of what it will look like as a Canvas page. Once you click on it, the themed template will be applied to your page.
9. Double Check the Title
Double-check that the DesignPLUS banner title matches the Canvas page title, since it is not updated automatically.

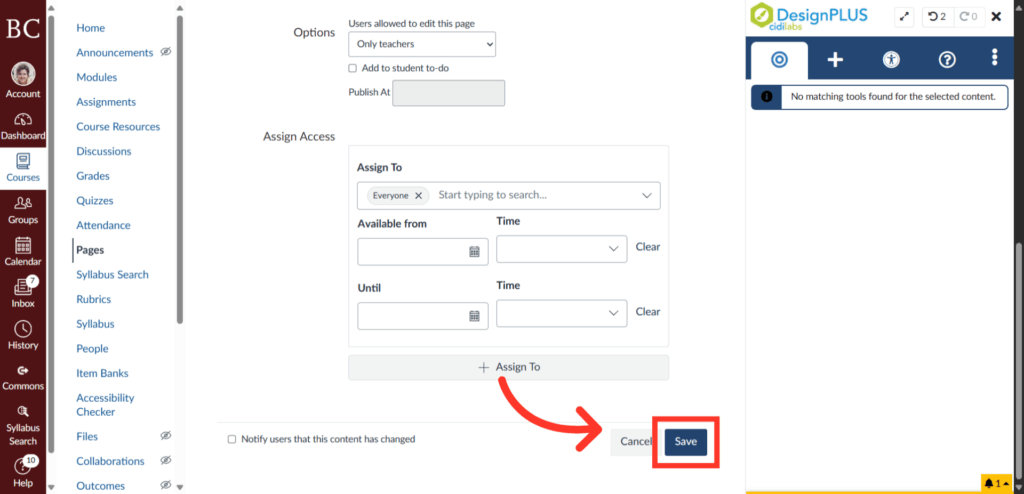
10. Click the Save Button
Finally, save all changes by clicking “Save” in the bottom right corner.